---
title: "Cliniko"
description: "How to configure Cliniko for a Leyr integration and obtain the required credentials."
canonical_url: "https://docs.leyr.io/product/ehrs-setup/cliniko"
---
# Cliniko
> How to configure Cliniko for a Leyr integration and obtain the required credentials.
Reviewed: 31 May 2025
Cliniko is a complete practice management application used by thousands of healthcare practitioners in more than 95 countries worldwide. It helps manage schedules, treatment notes, invoices, payments, and much more. It works great for solo practitioners, large teams, and everything in between.
Cliniko
## Setup Type
**Self-Service** - You can obtain the required API key directly from your Cliniko account following the step-by-step guide below.
## Required Credentials
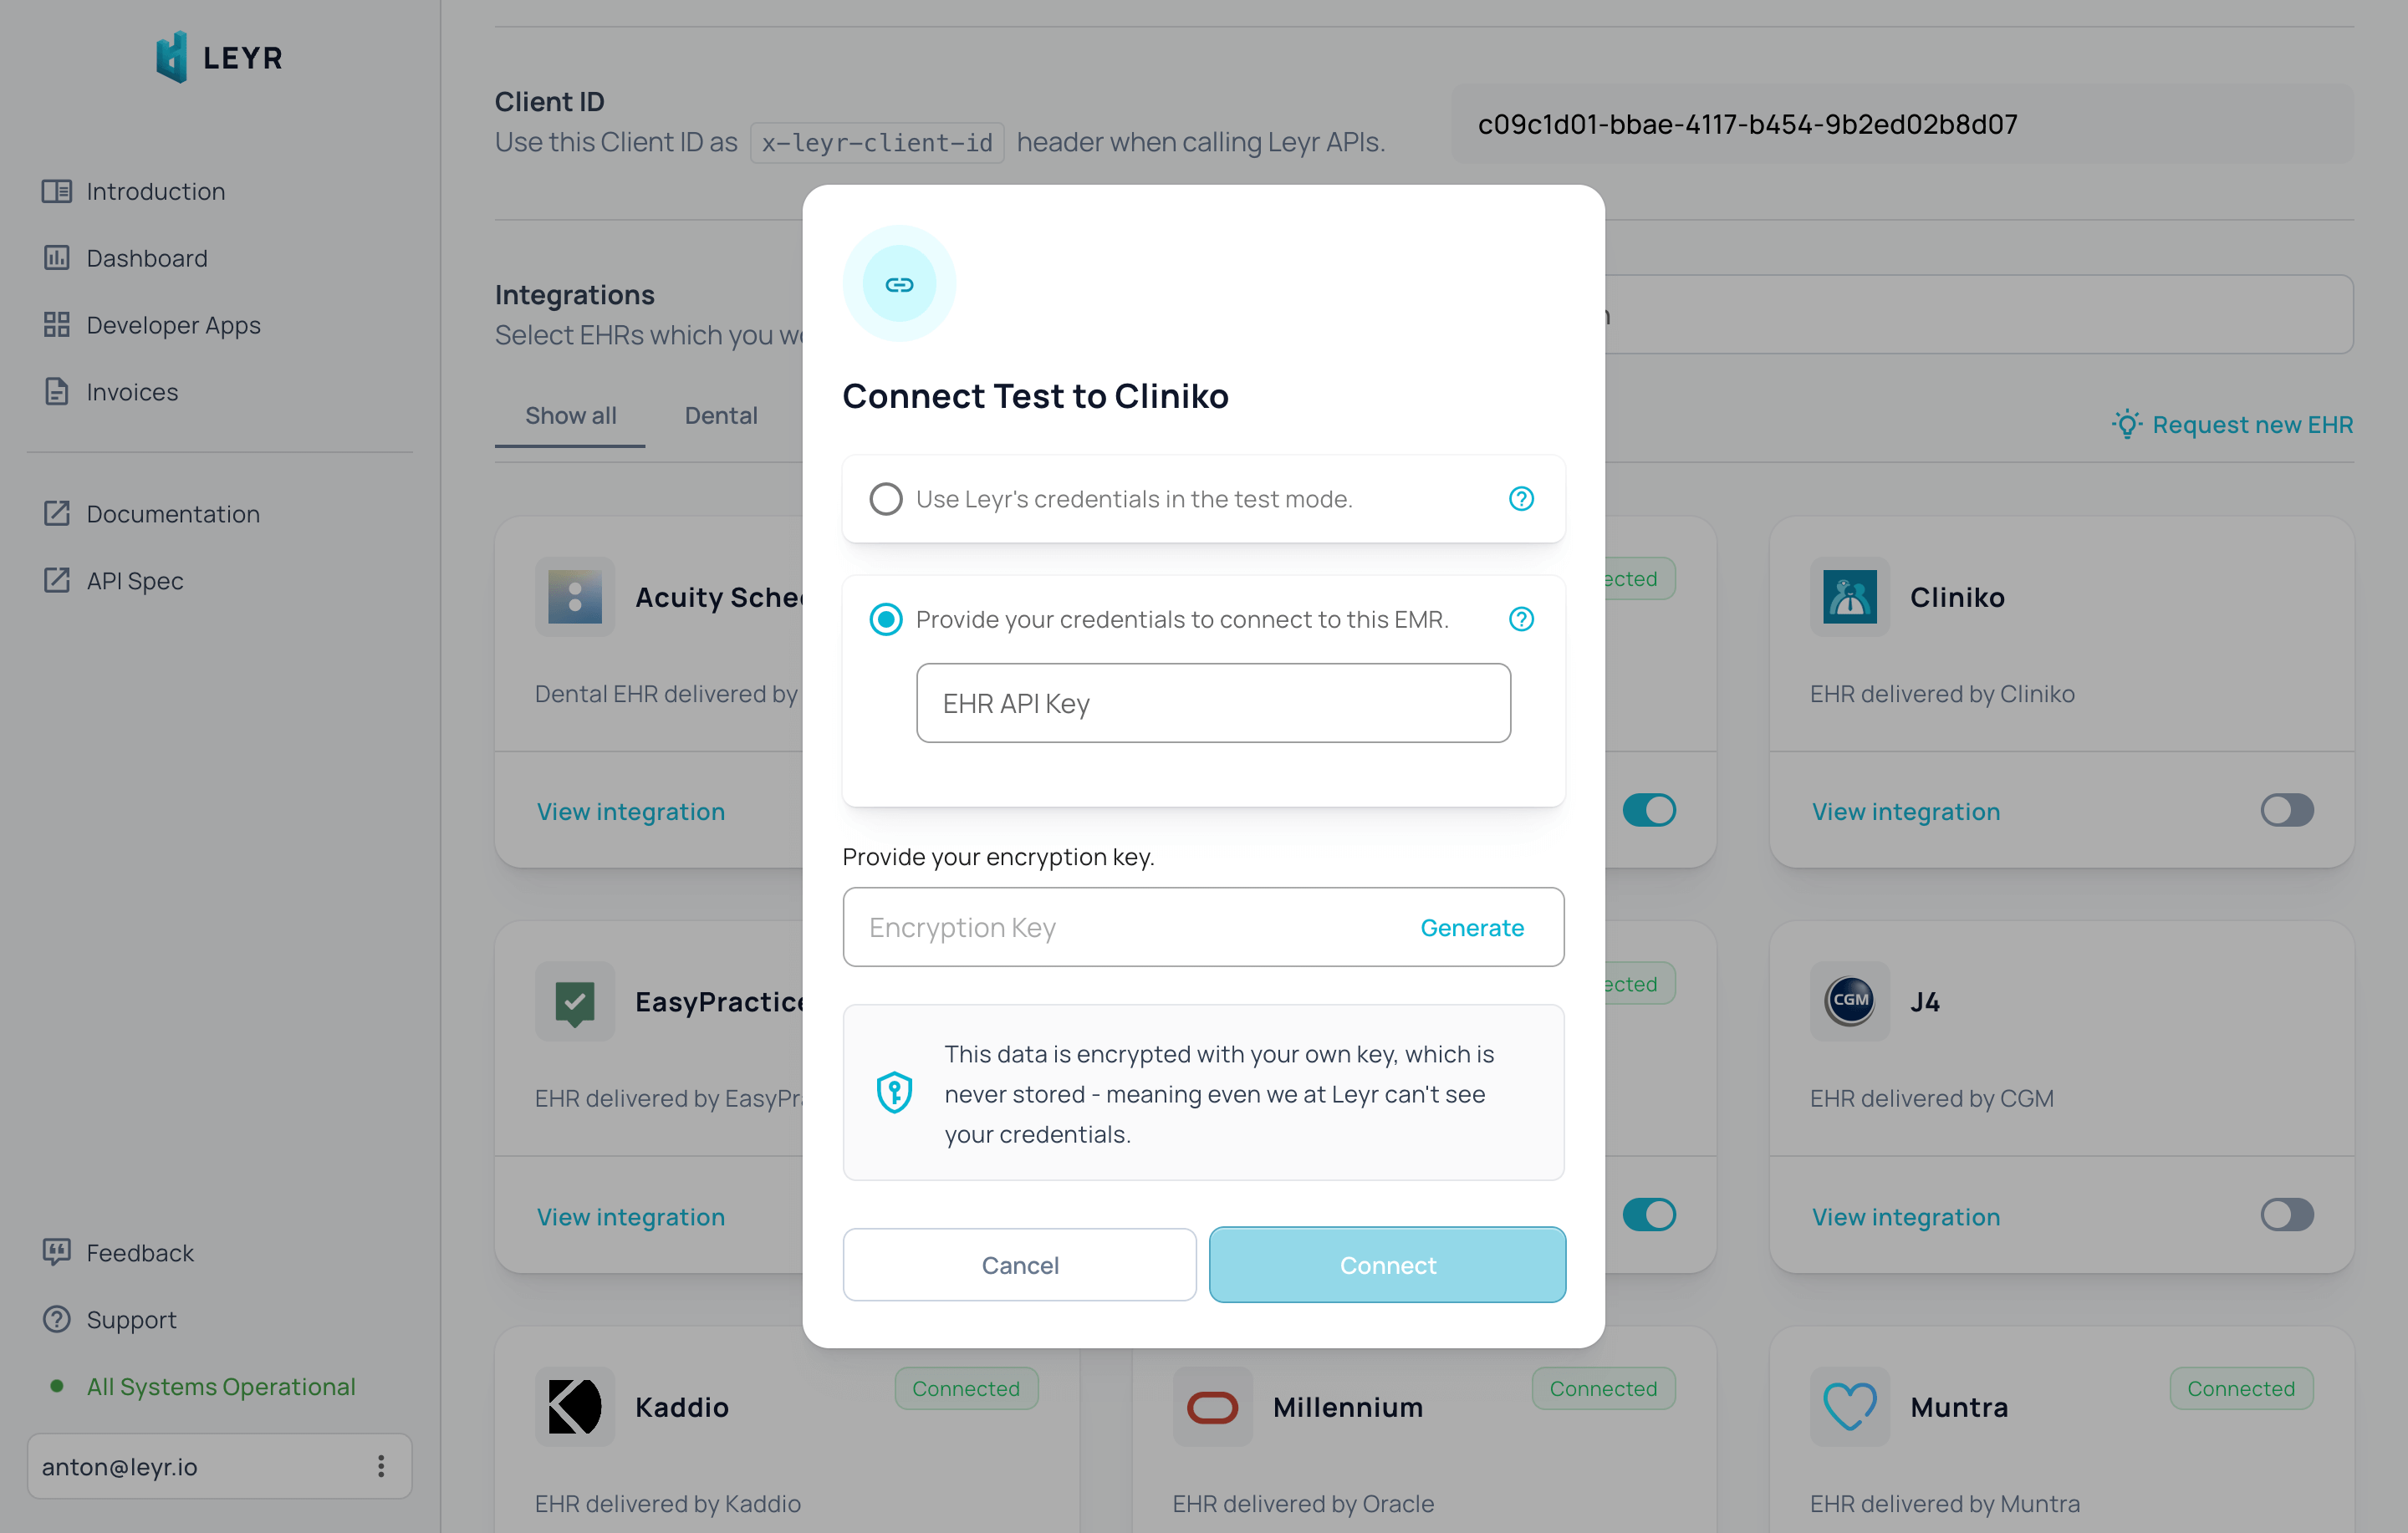
To integrate with Cliniko in production, you'll need:
- API Key
## Setup Guide
### Getting Your API Key
1. Login to your account at [https://www.cliniko.com/](https://www.cliniko.com/). If you have multiple accounts in your organization, ensure you're using one with admin rights.
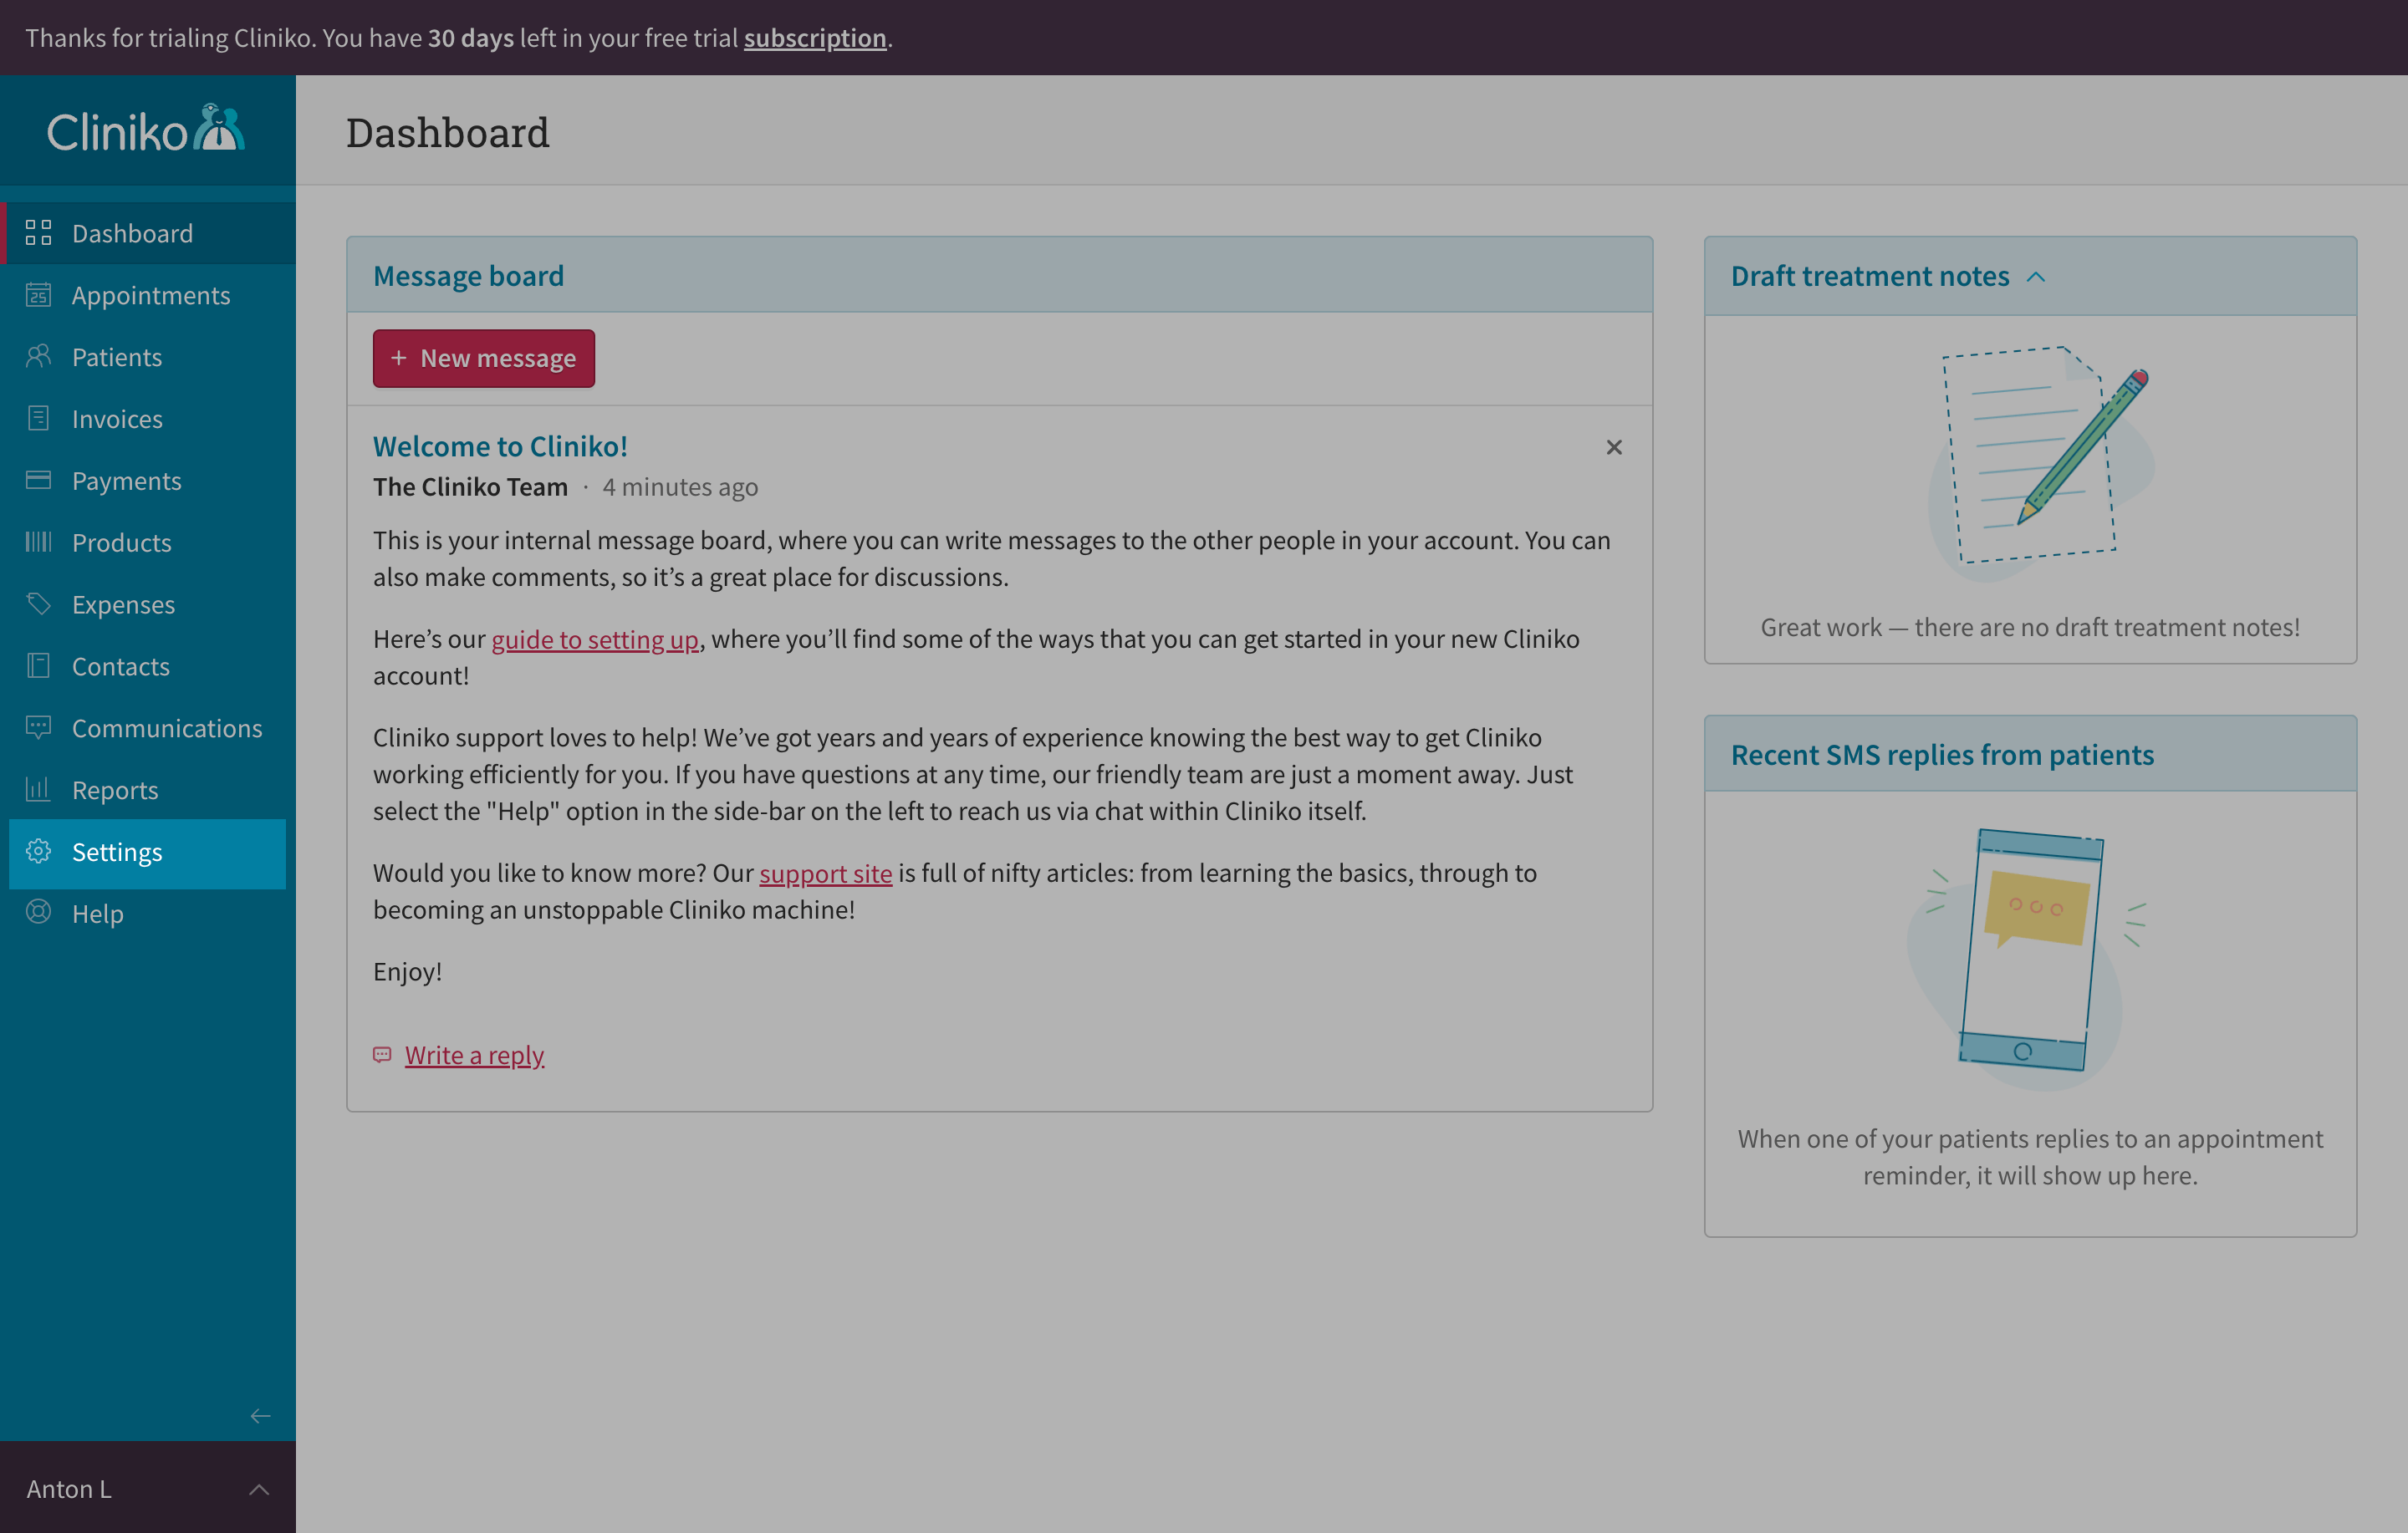
2. From the left navigation menu, go to "Settings" ([https://your-website/settings](https://your-website/settings))
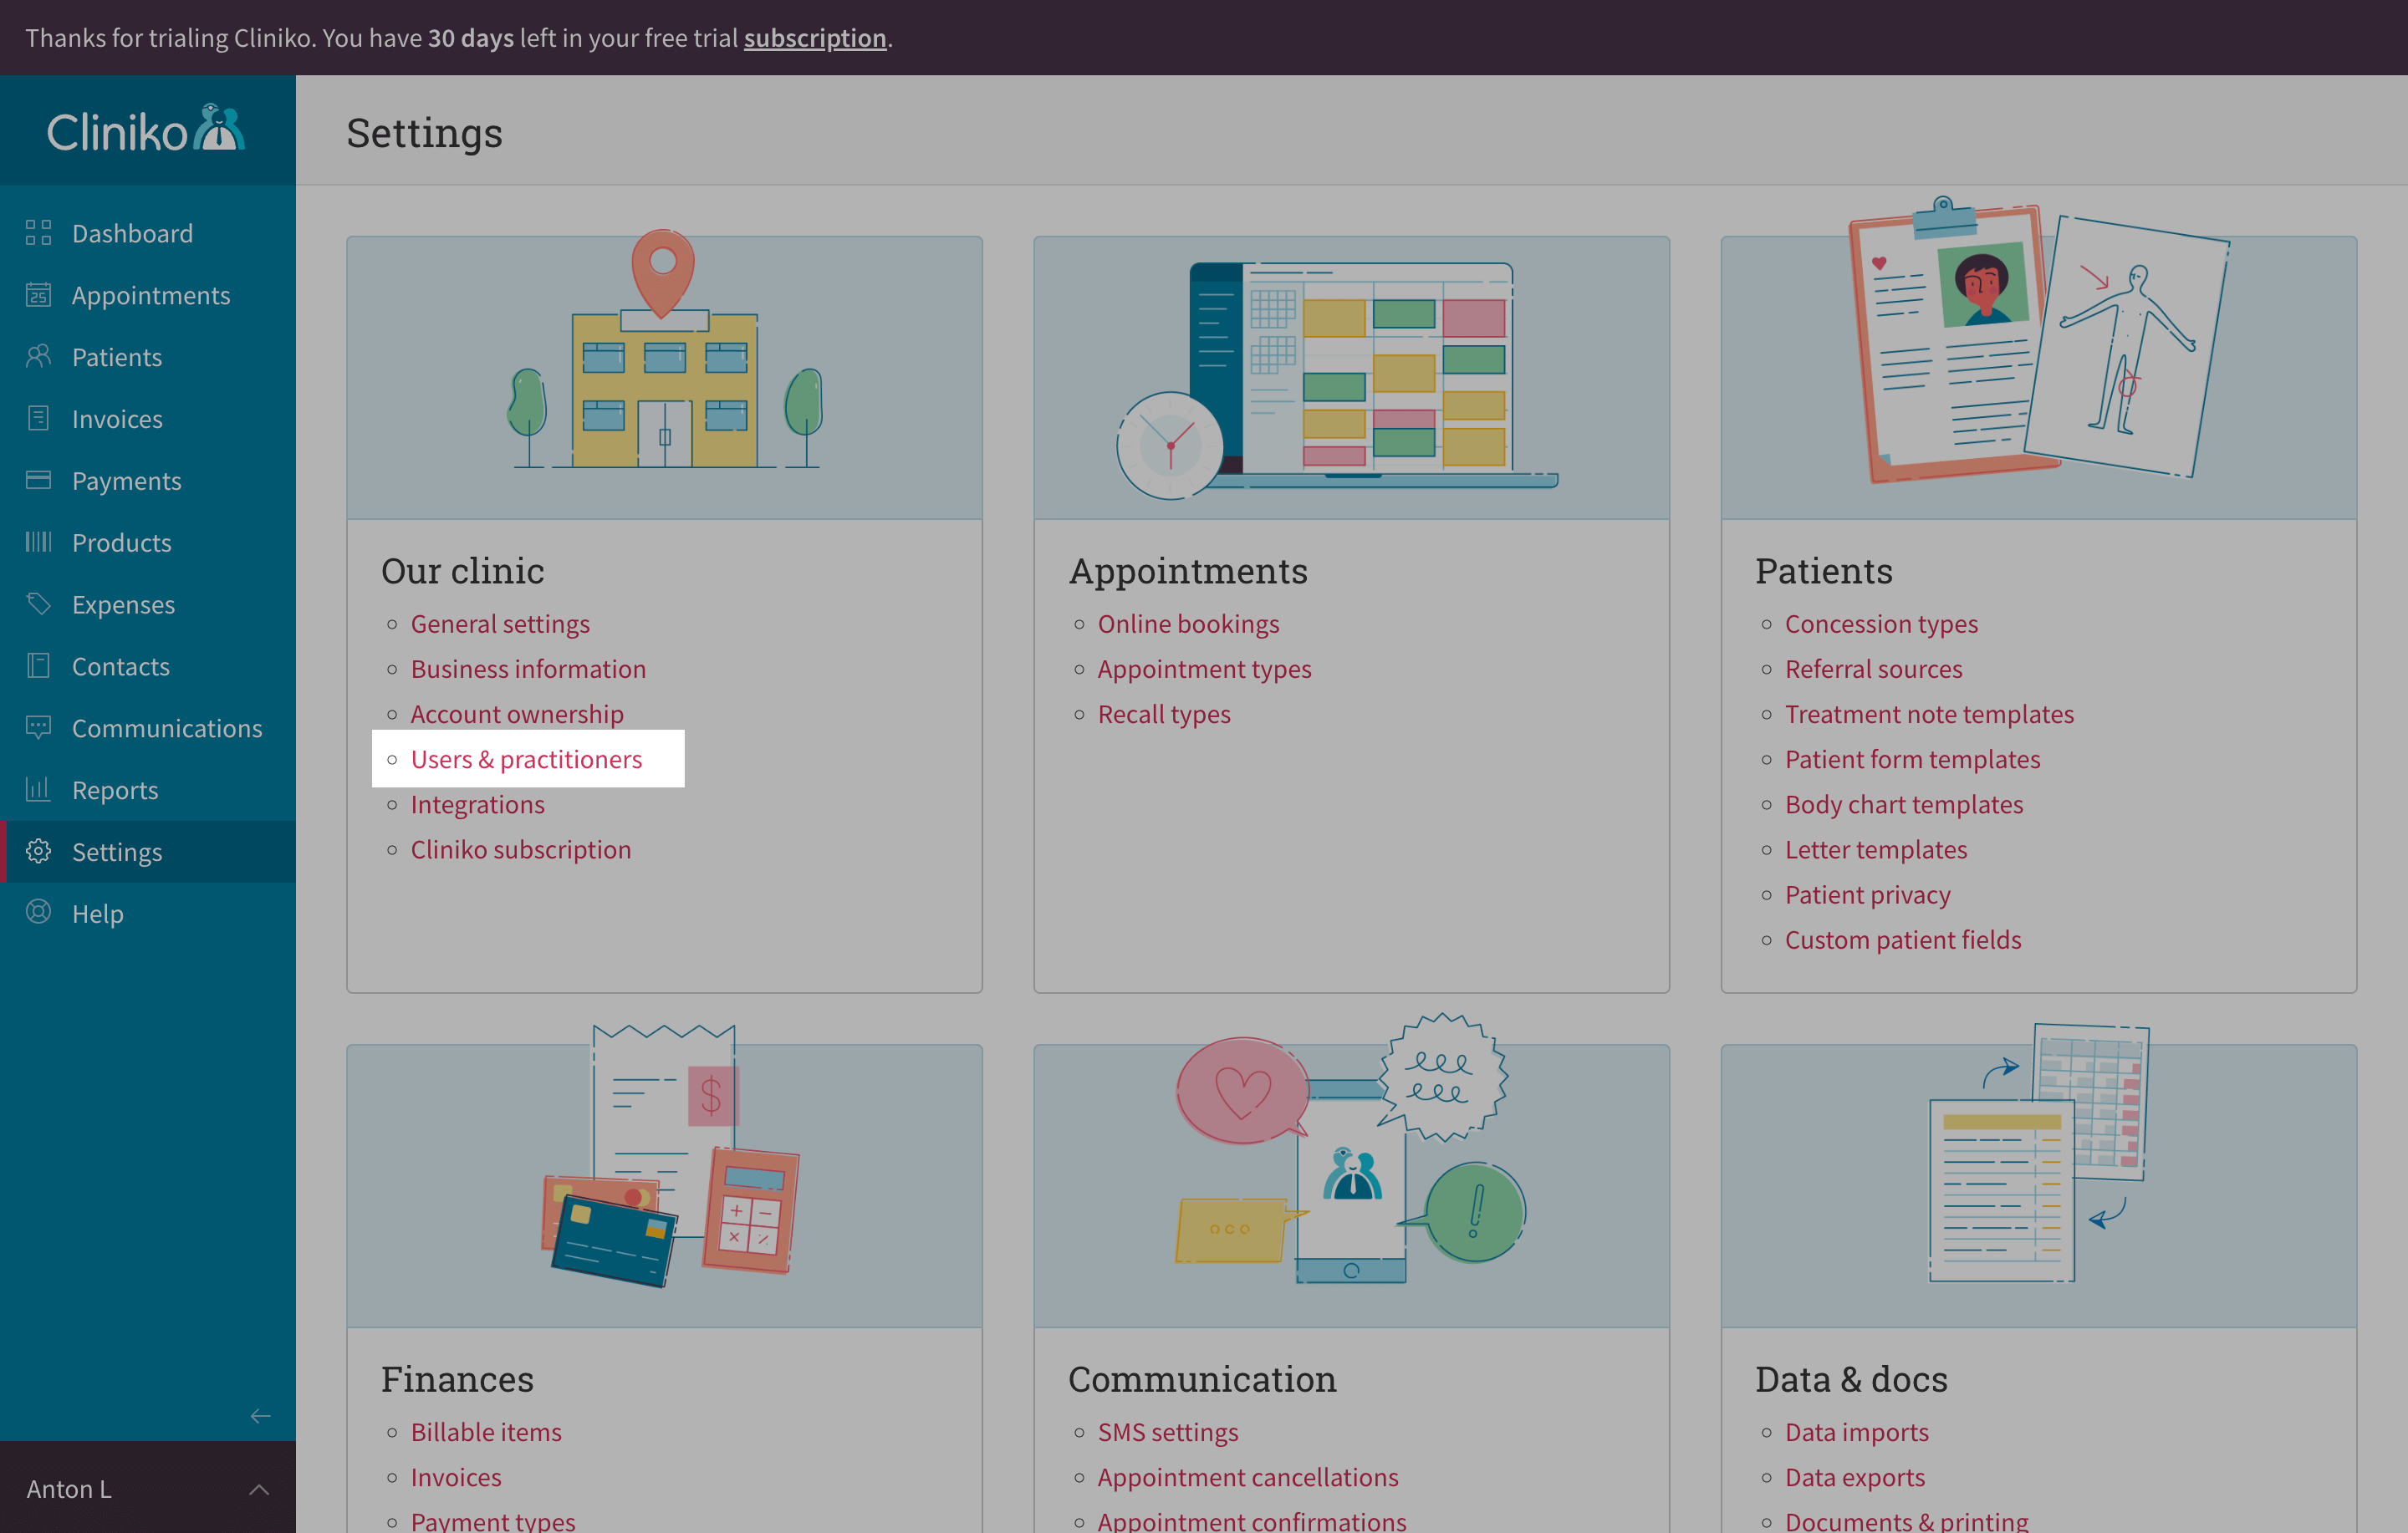
3. Go to "Users & practitioners" on the "Our clinic" setting card
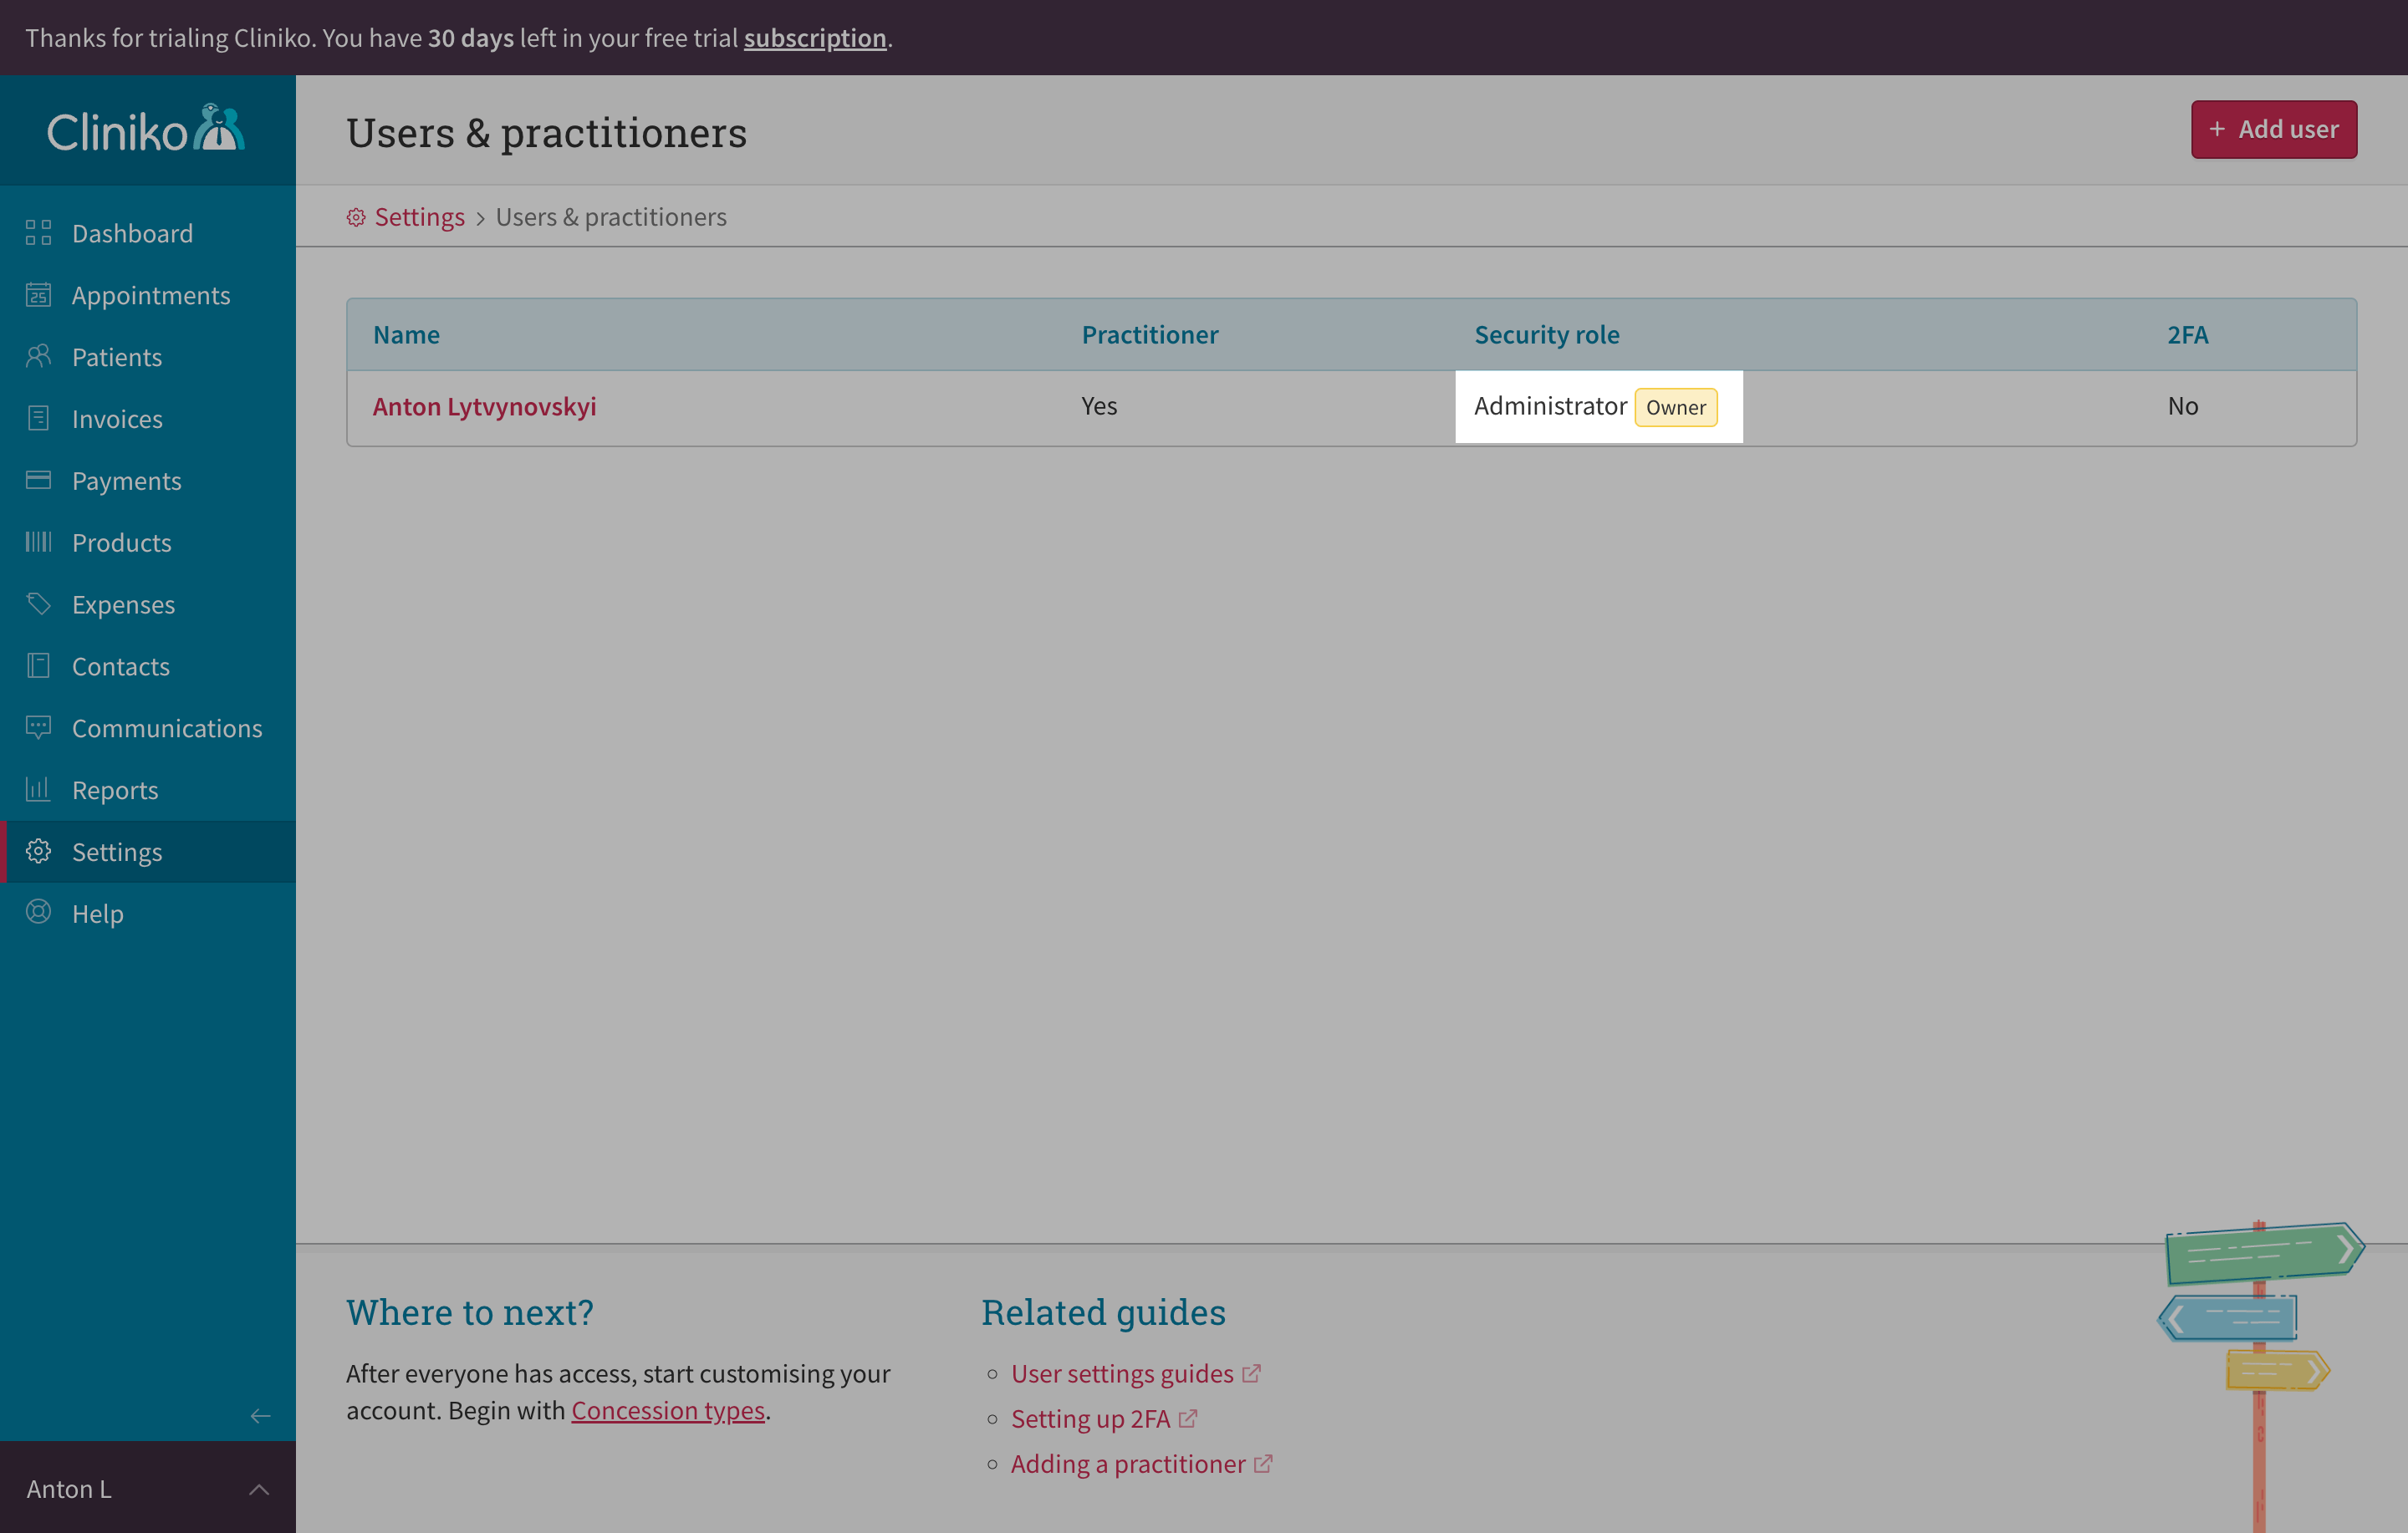
4. Find your user with Administrator rights and click on it
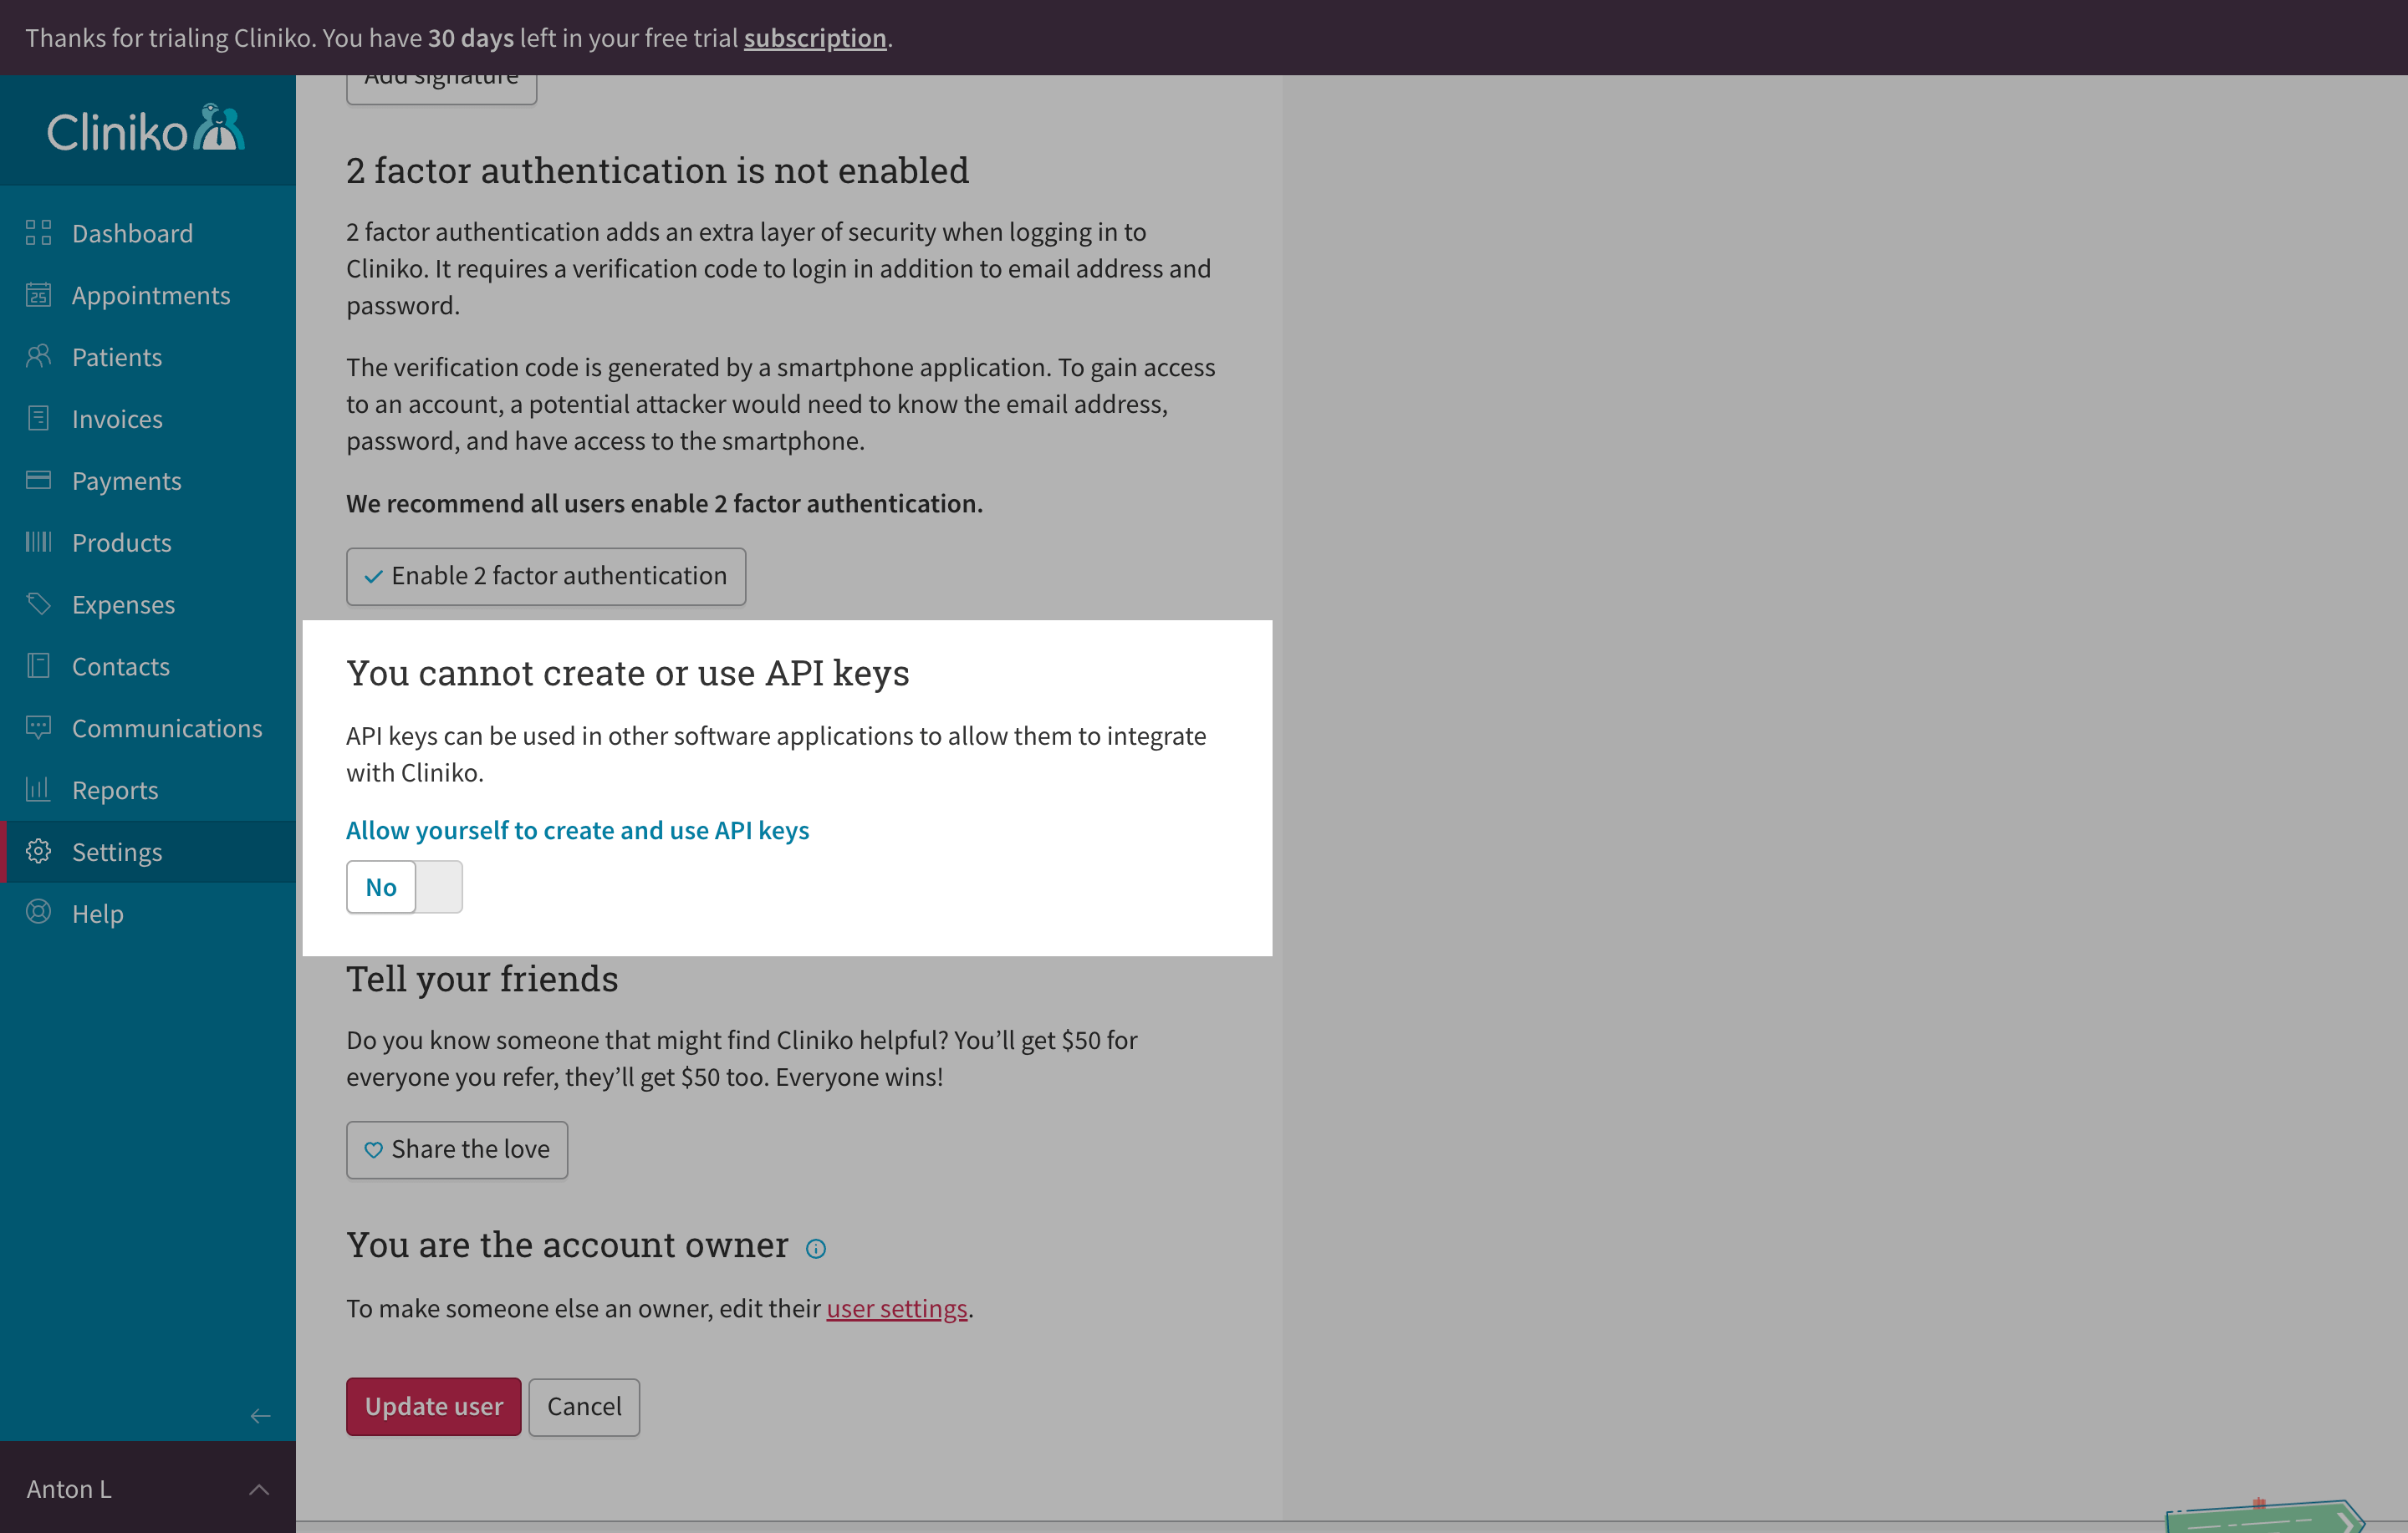
5. In the user window, scroll down to the API keys section. Your user may not have rights to create API keys by default - enable them by setting the toggle to "Yes" and updating the user
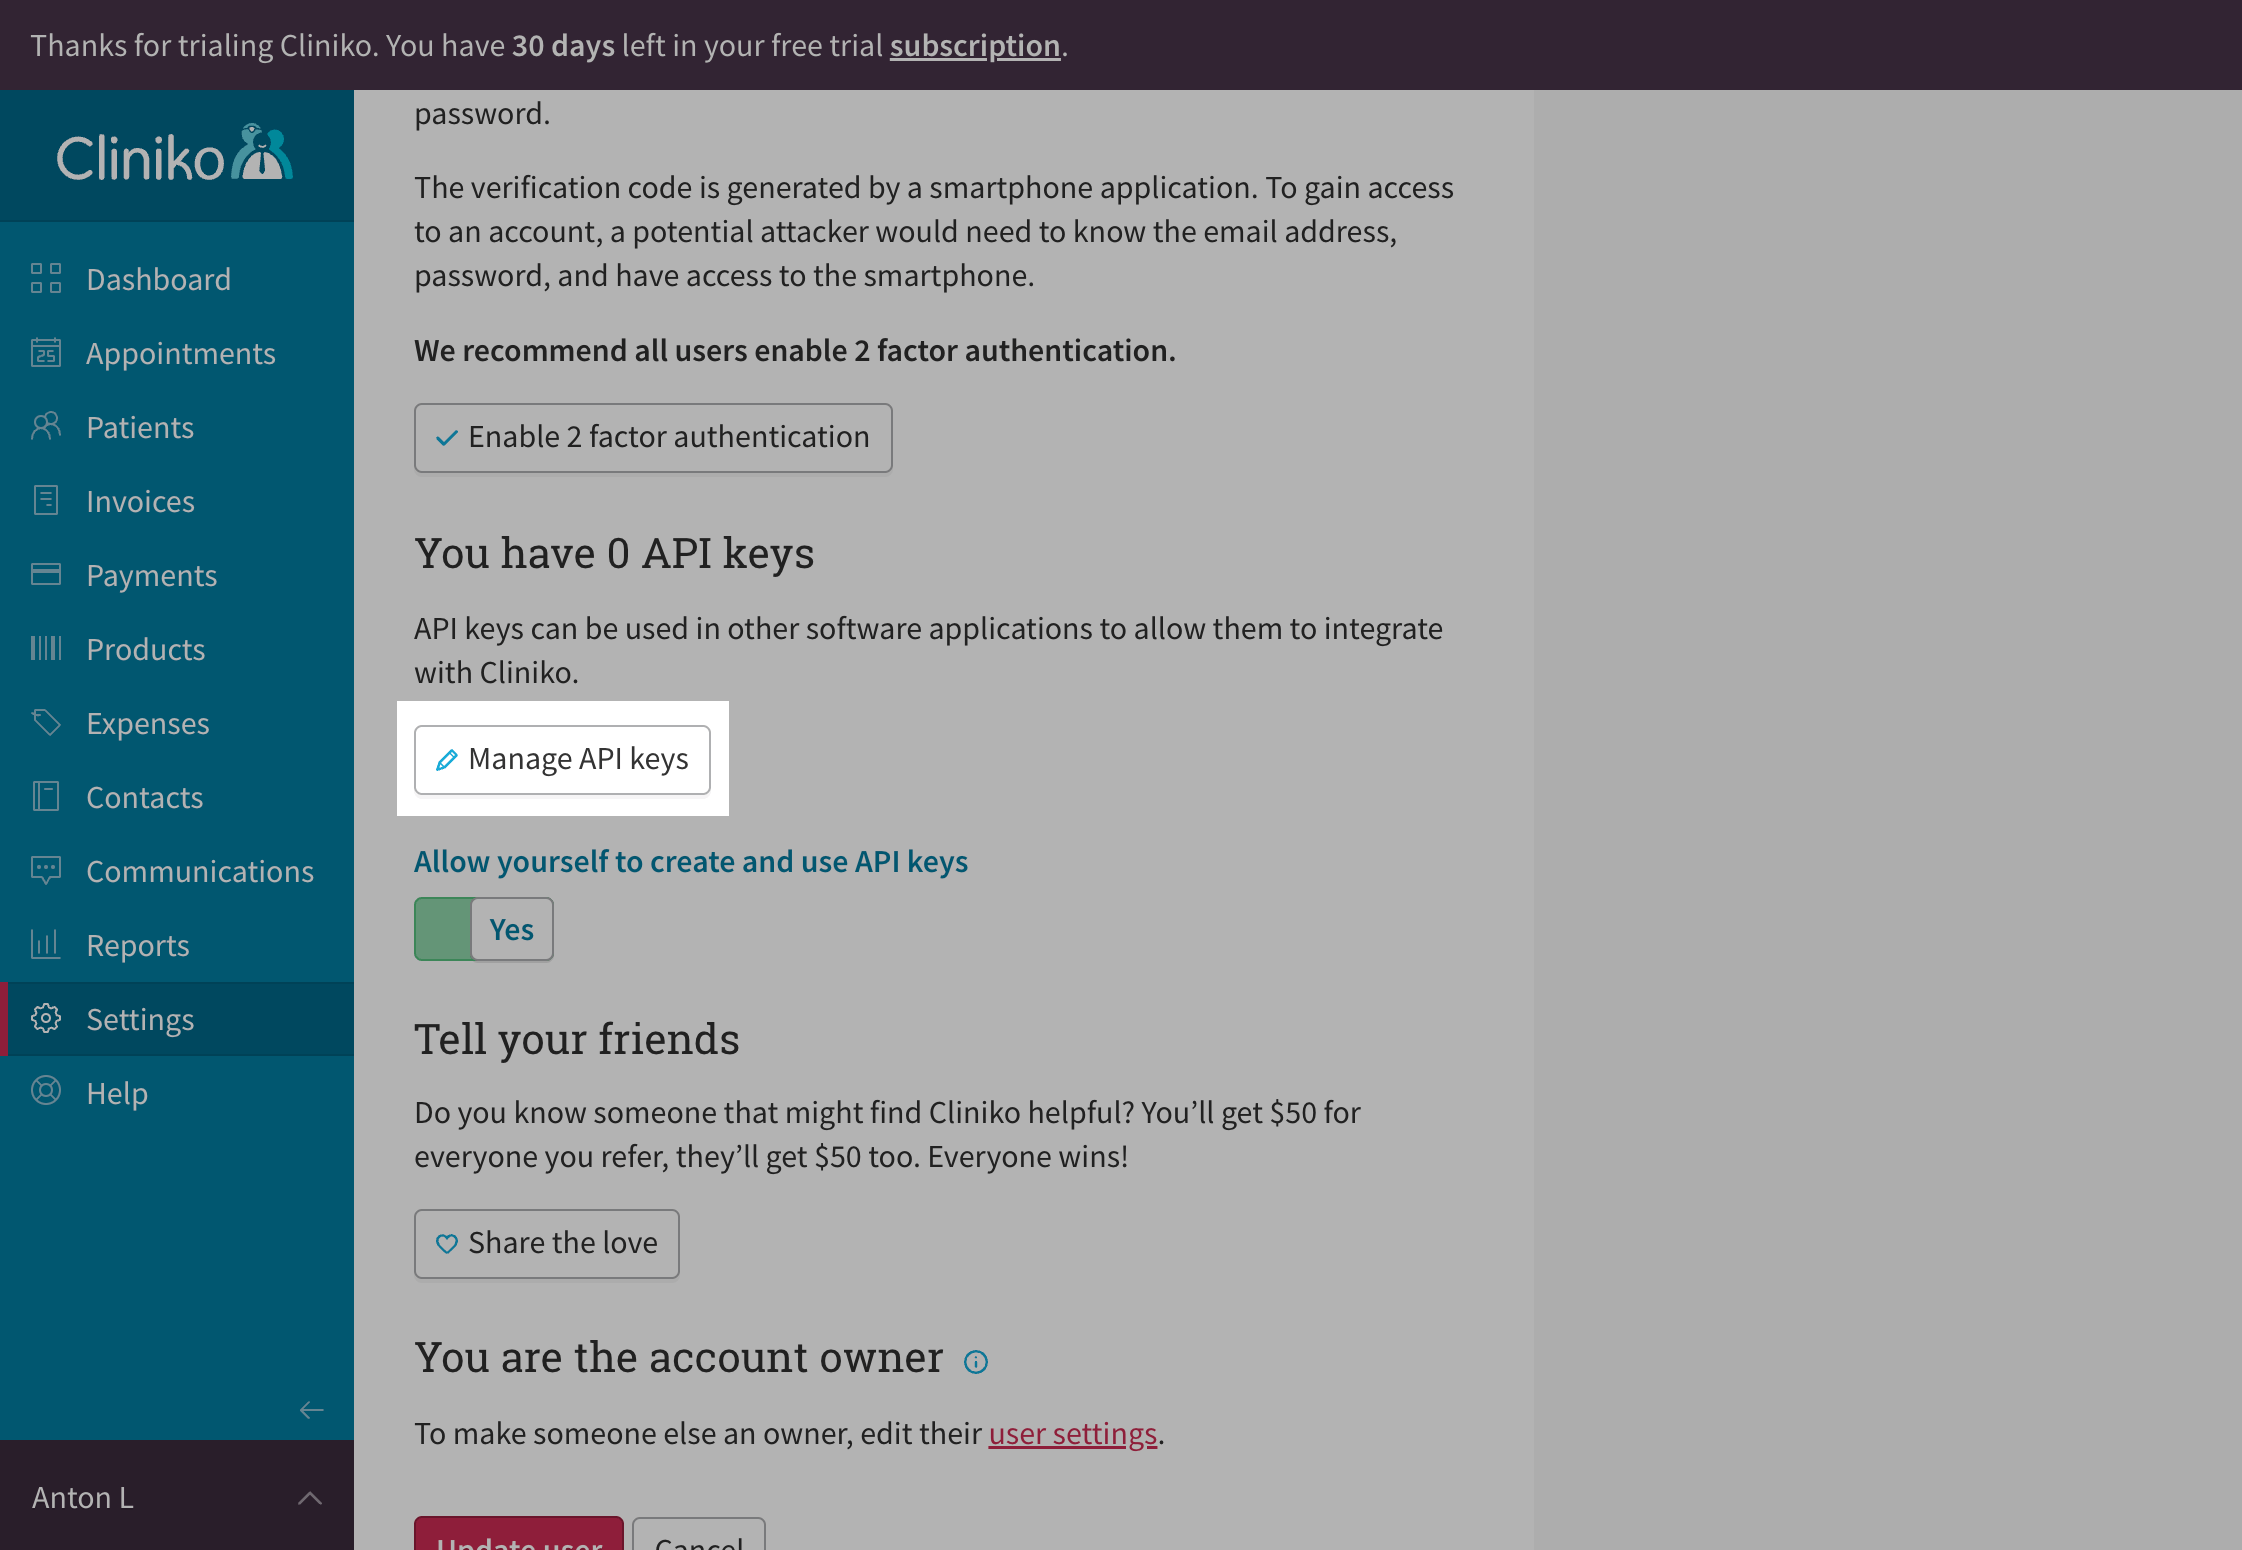
6. Once updated, the API keys section will change to show the total number of API keys you've created. Click the "Manage API keys" button
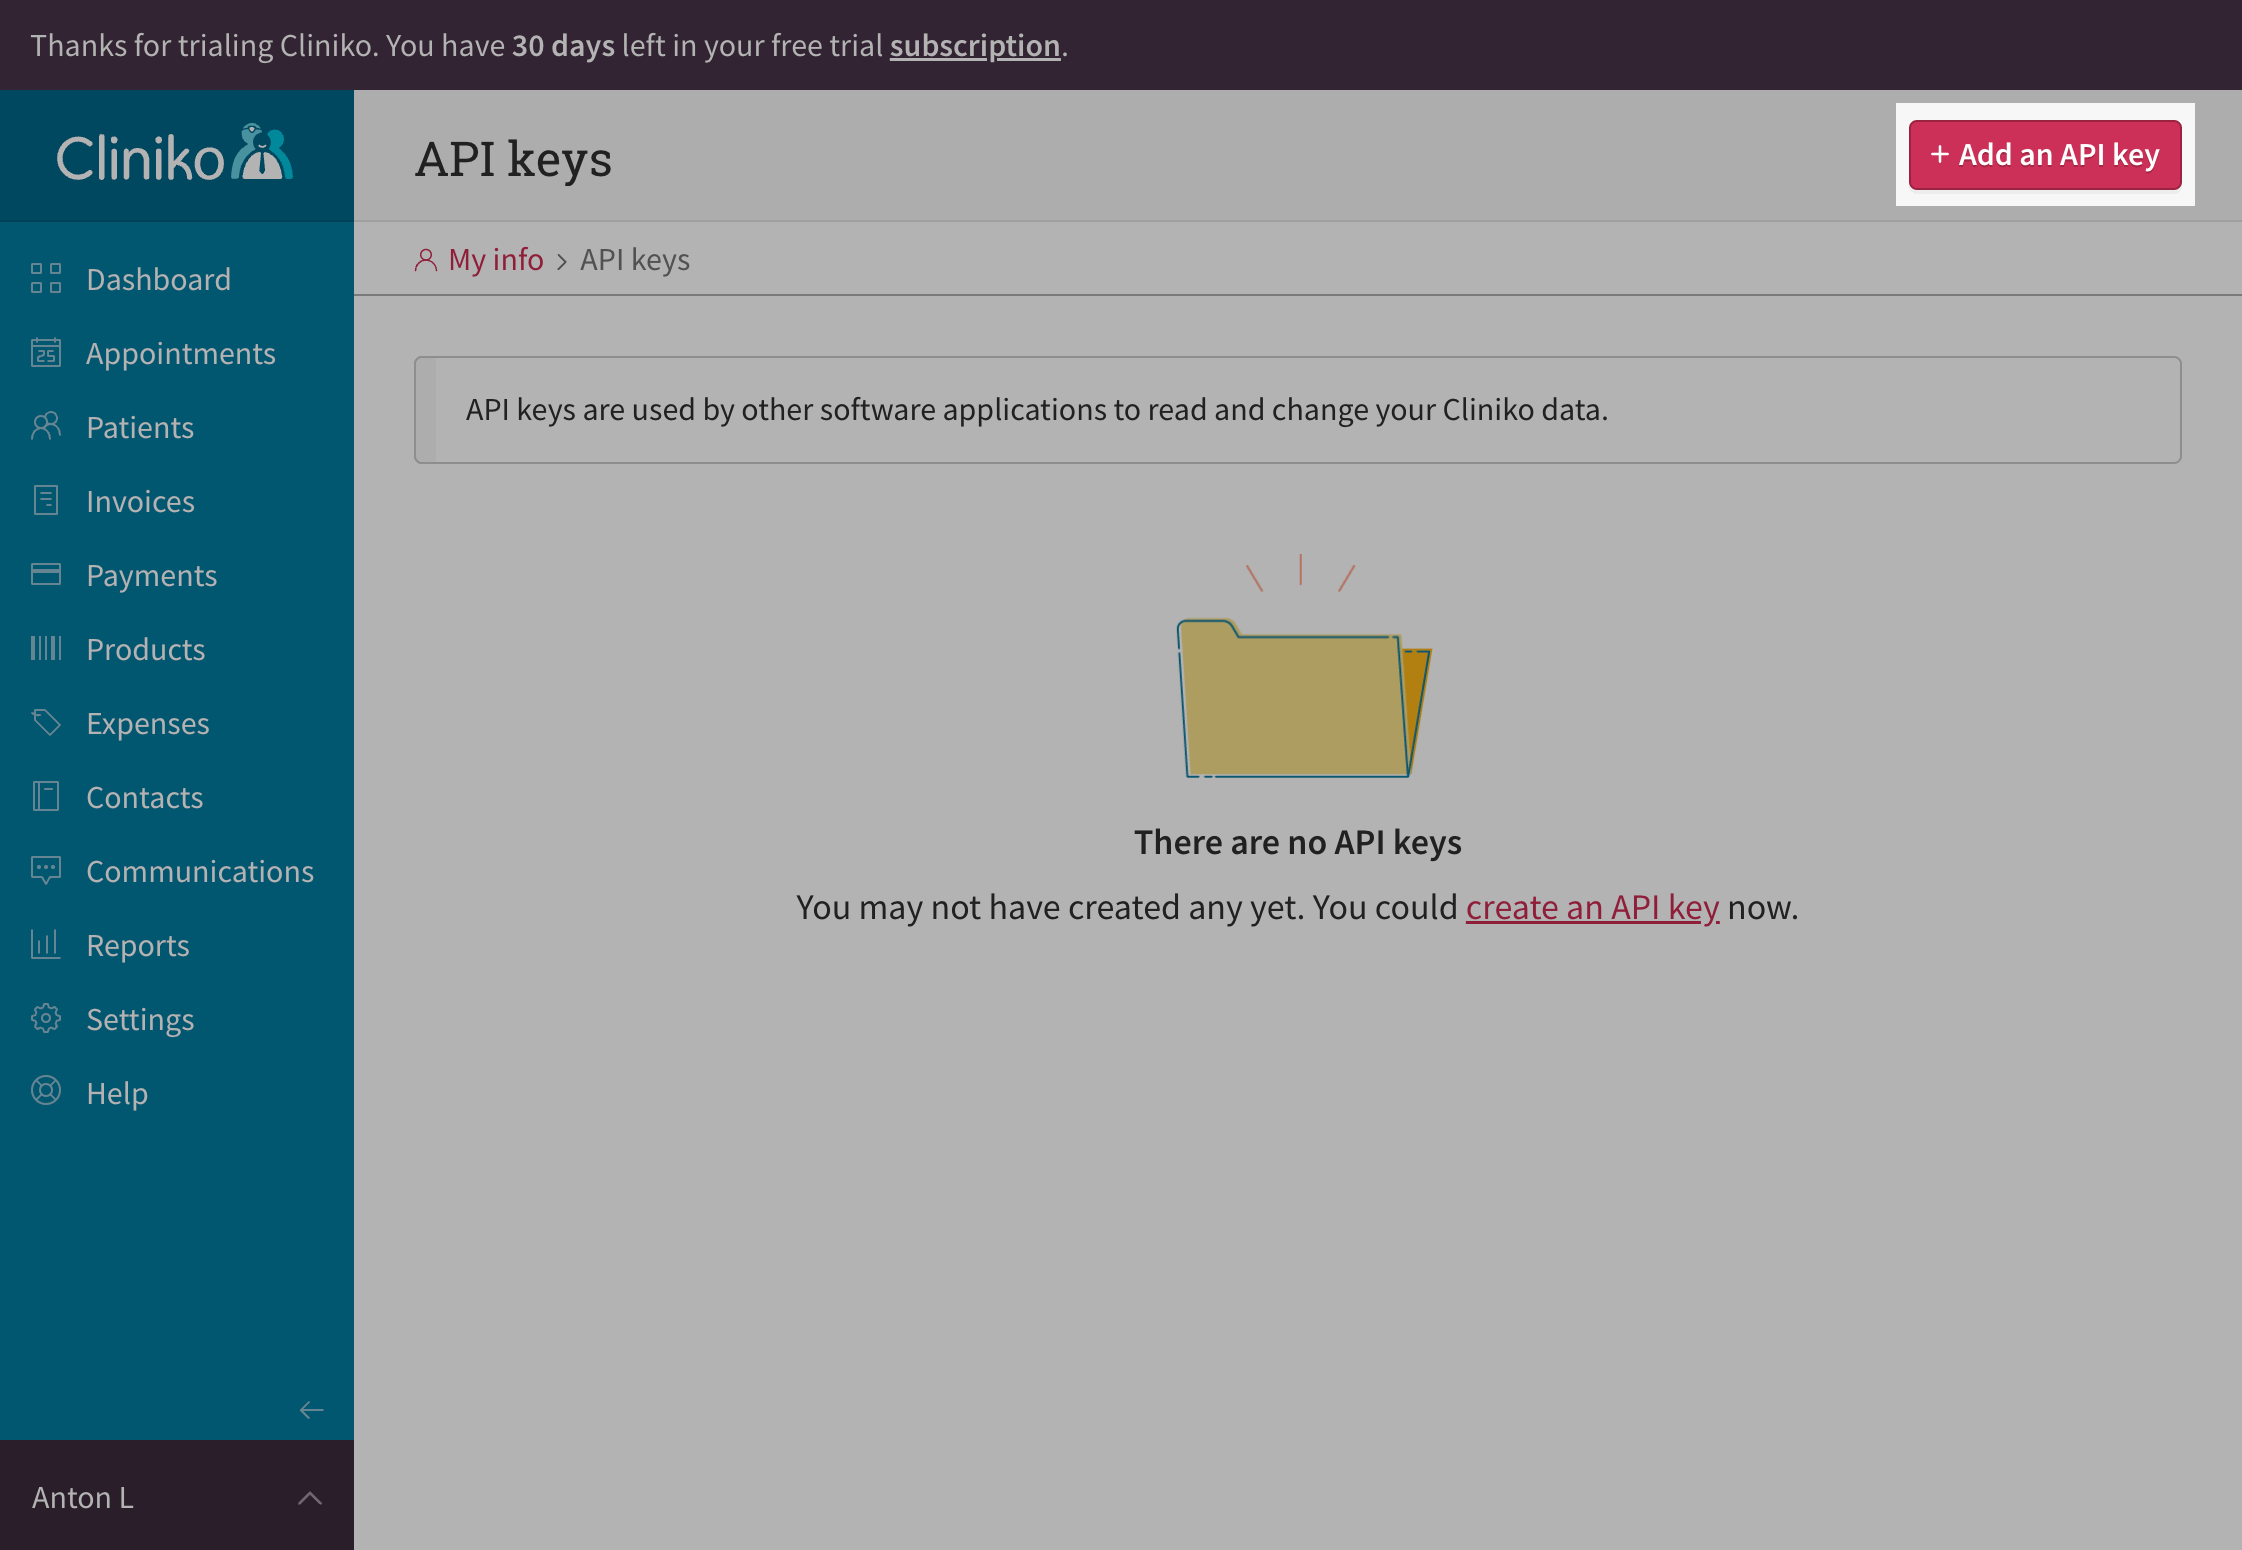
7. In the API keys window, click the "Add an API key" button in the top right corner
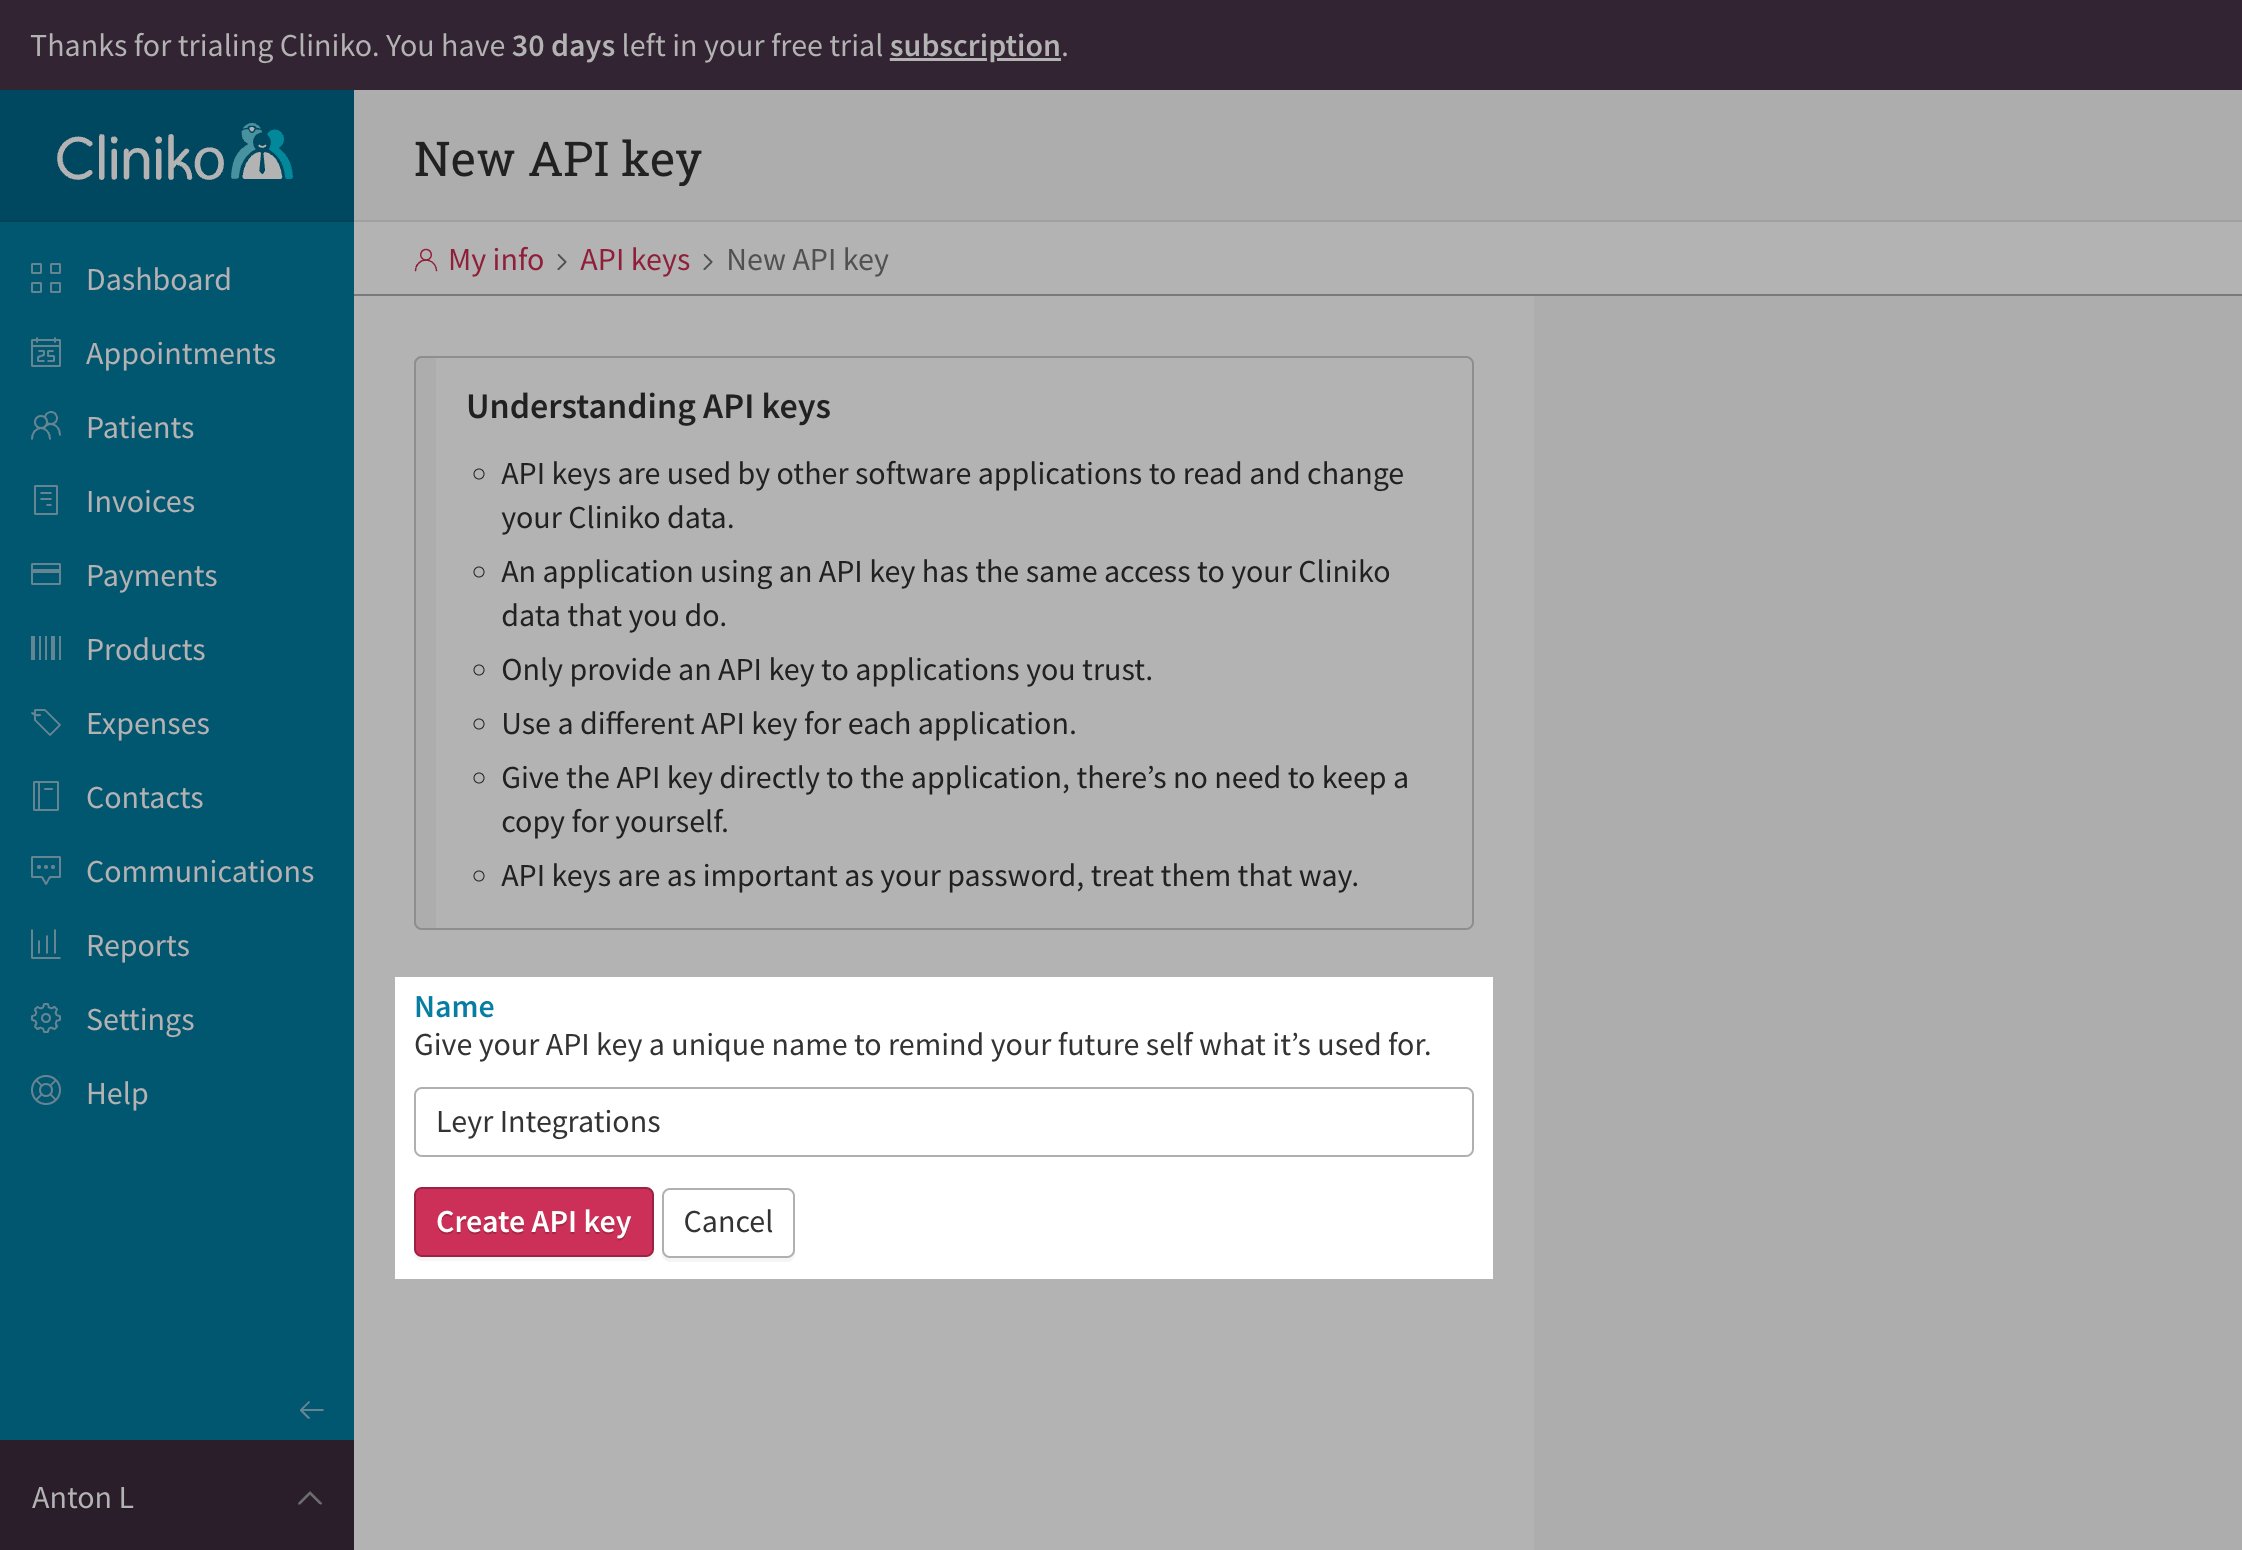
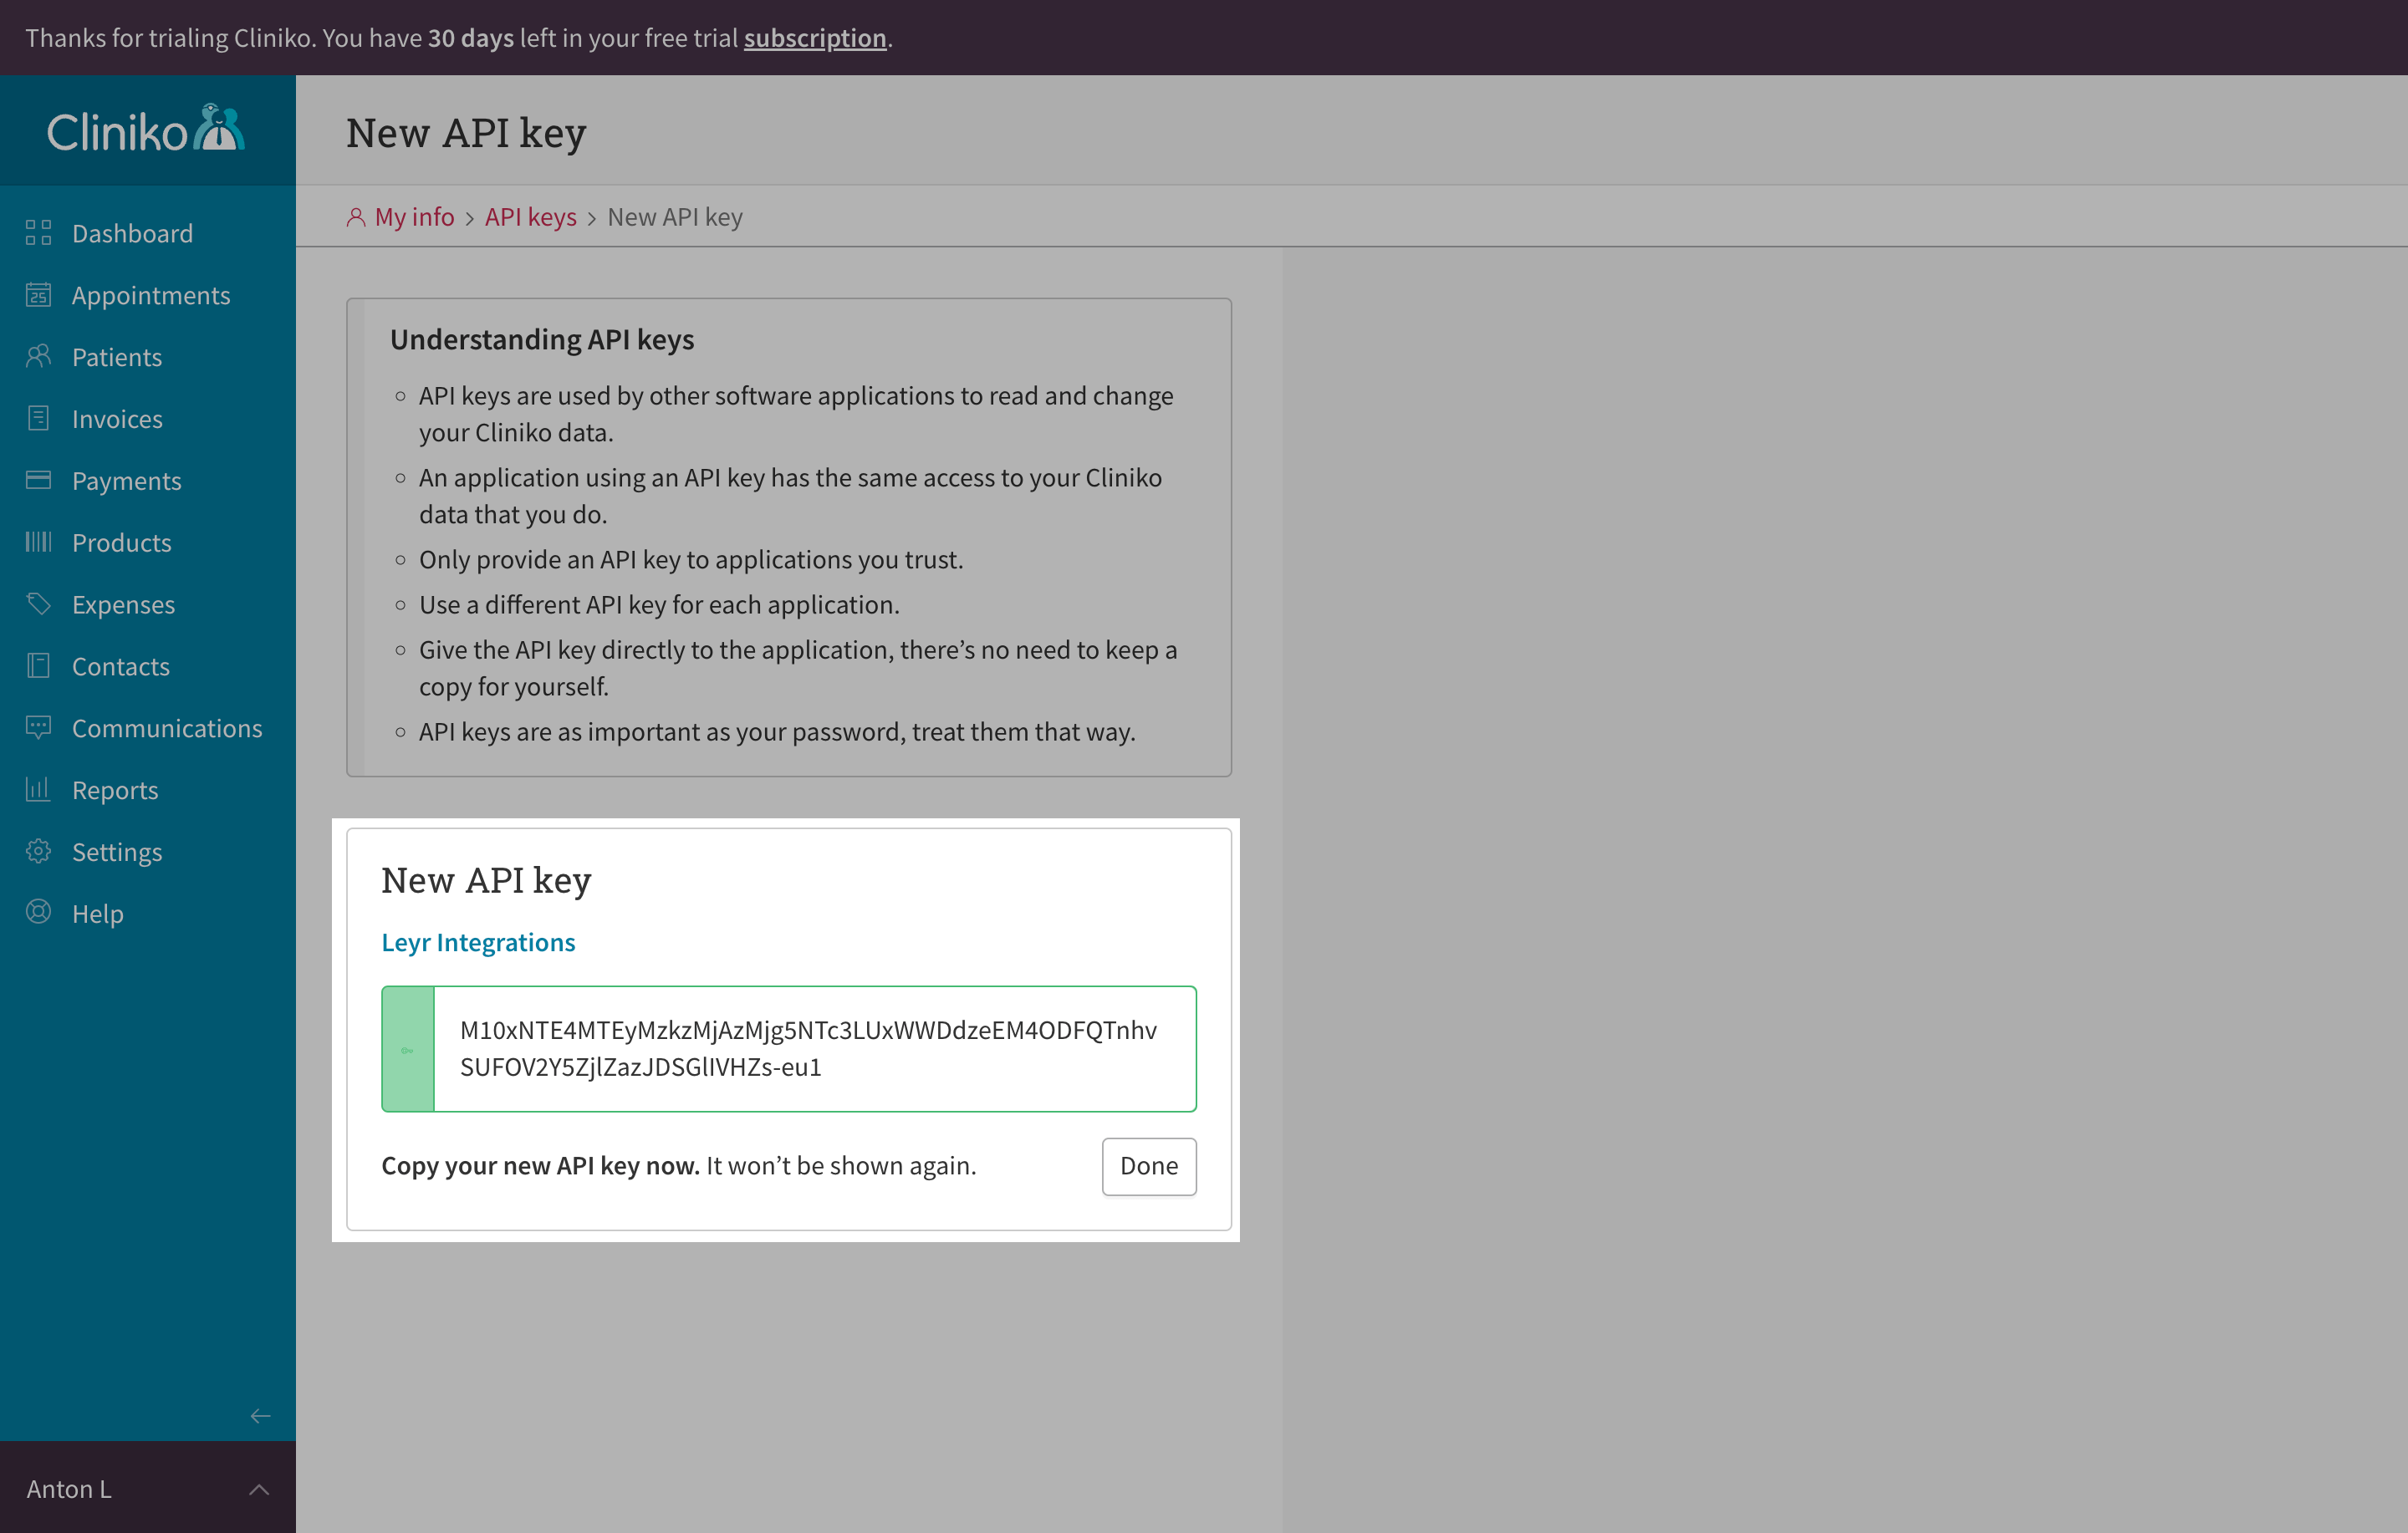
8. Provide a name for your API key (e.g., "Leyr Integrations") and click "Create API key"
9. The API key will be generated and displayed. Copy this key - this is the credential you need!
### Additional Configuration
You may need additional configuration to enable appointment booking if it wasn't configured previously. There are two settings to configure:
**Enable Online Bookings**
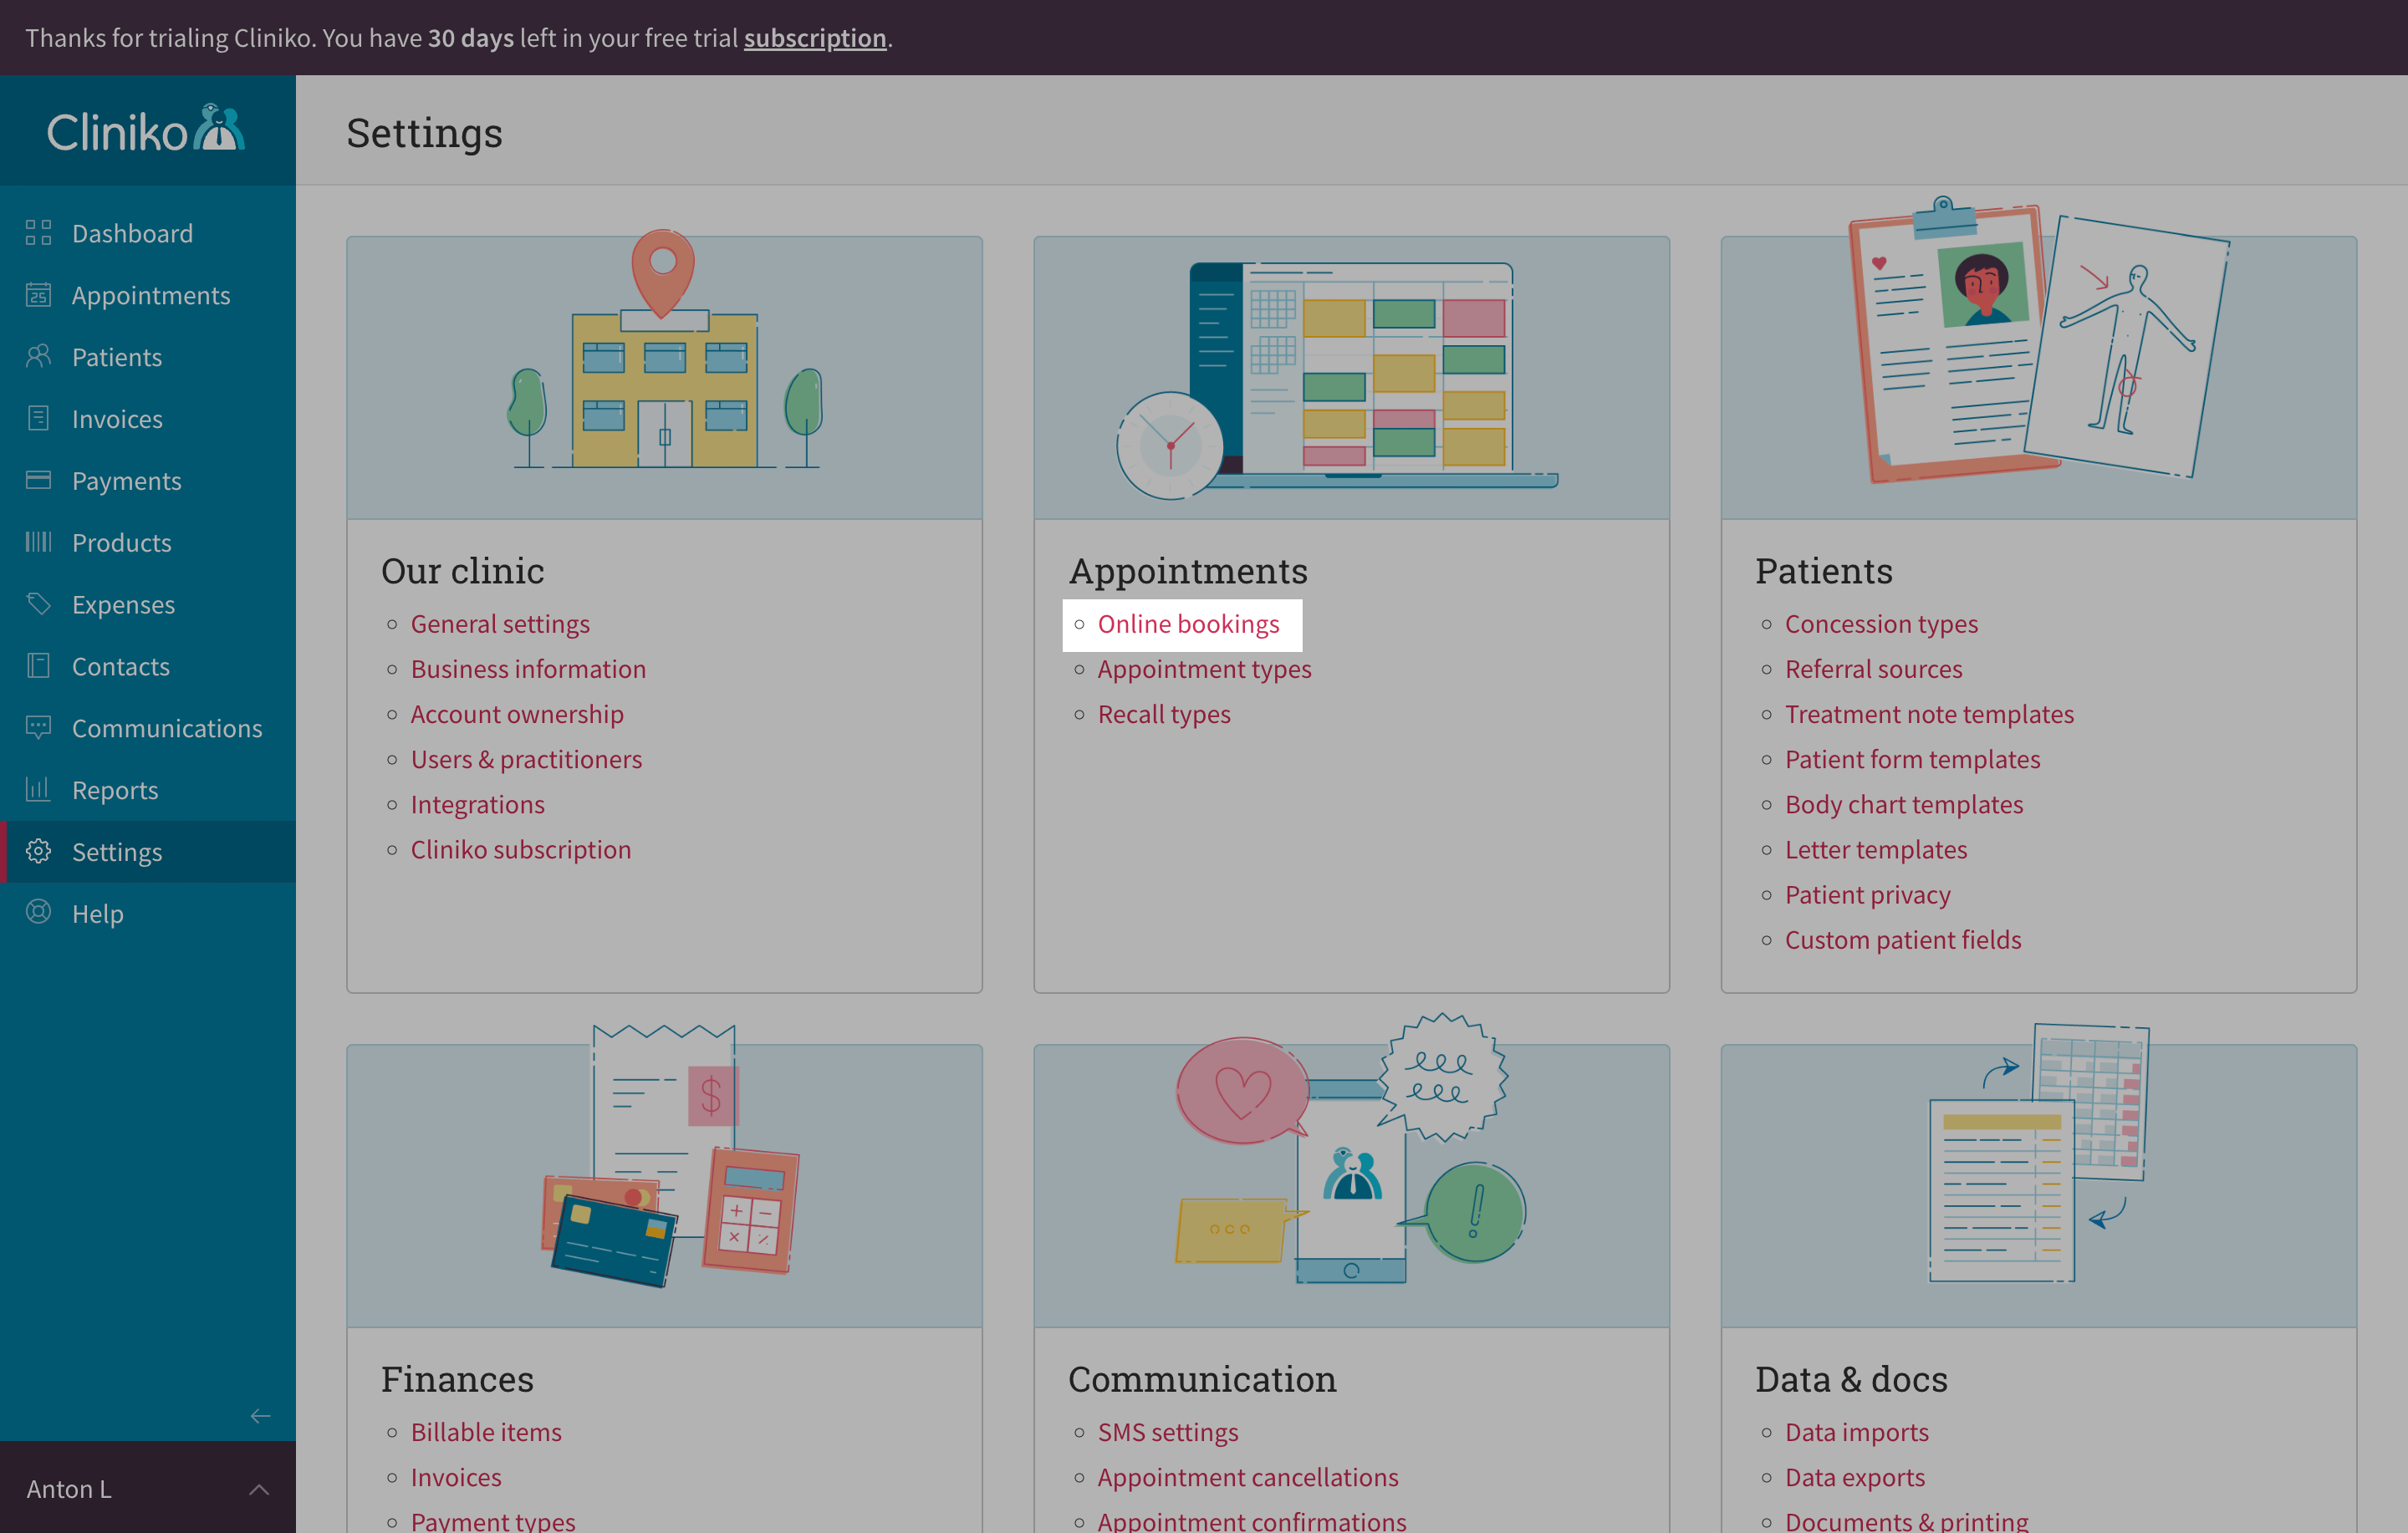
1. Go to "Online bookings" on the "Appointments" setting card
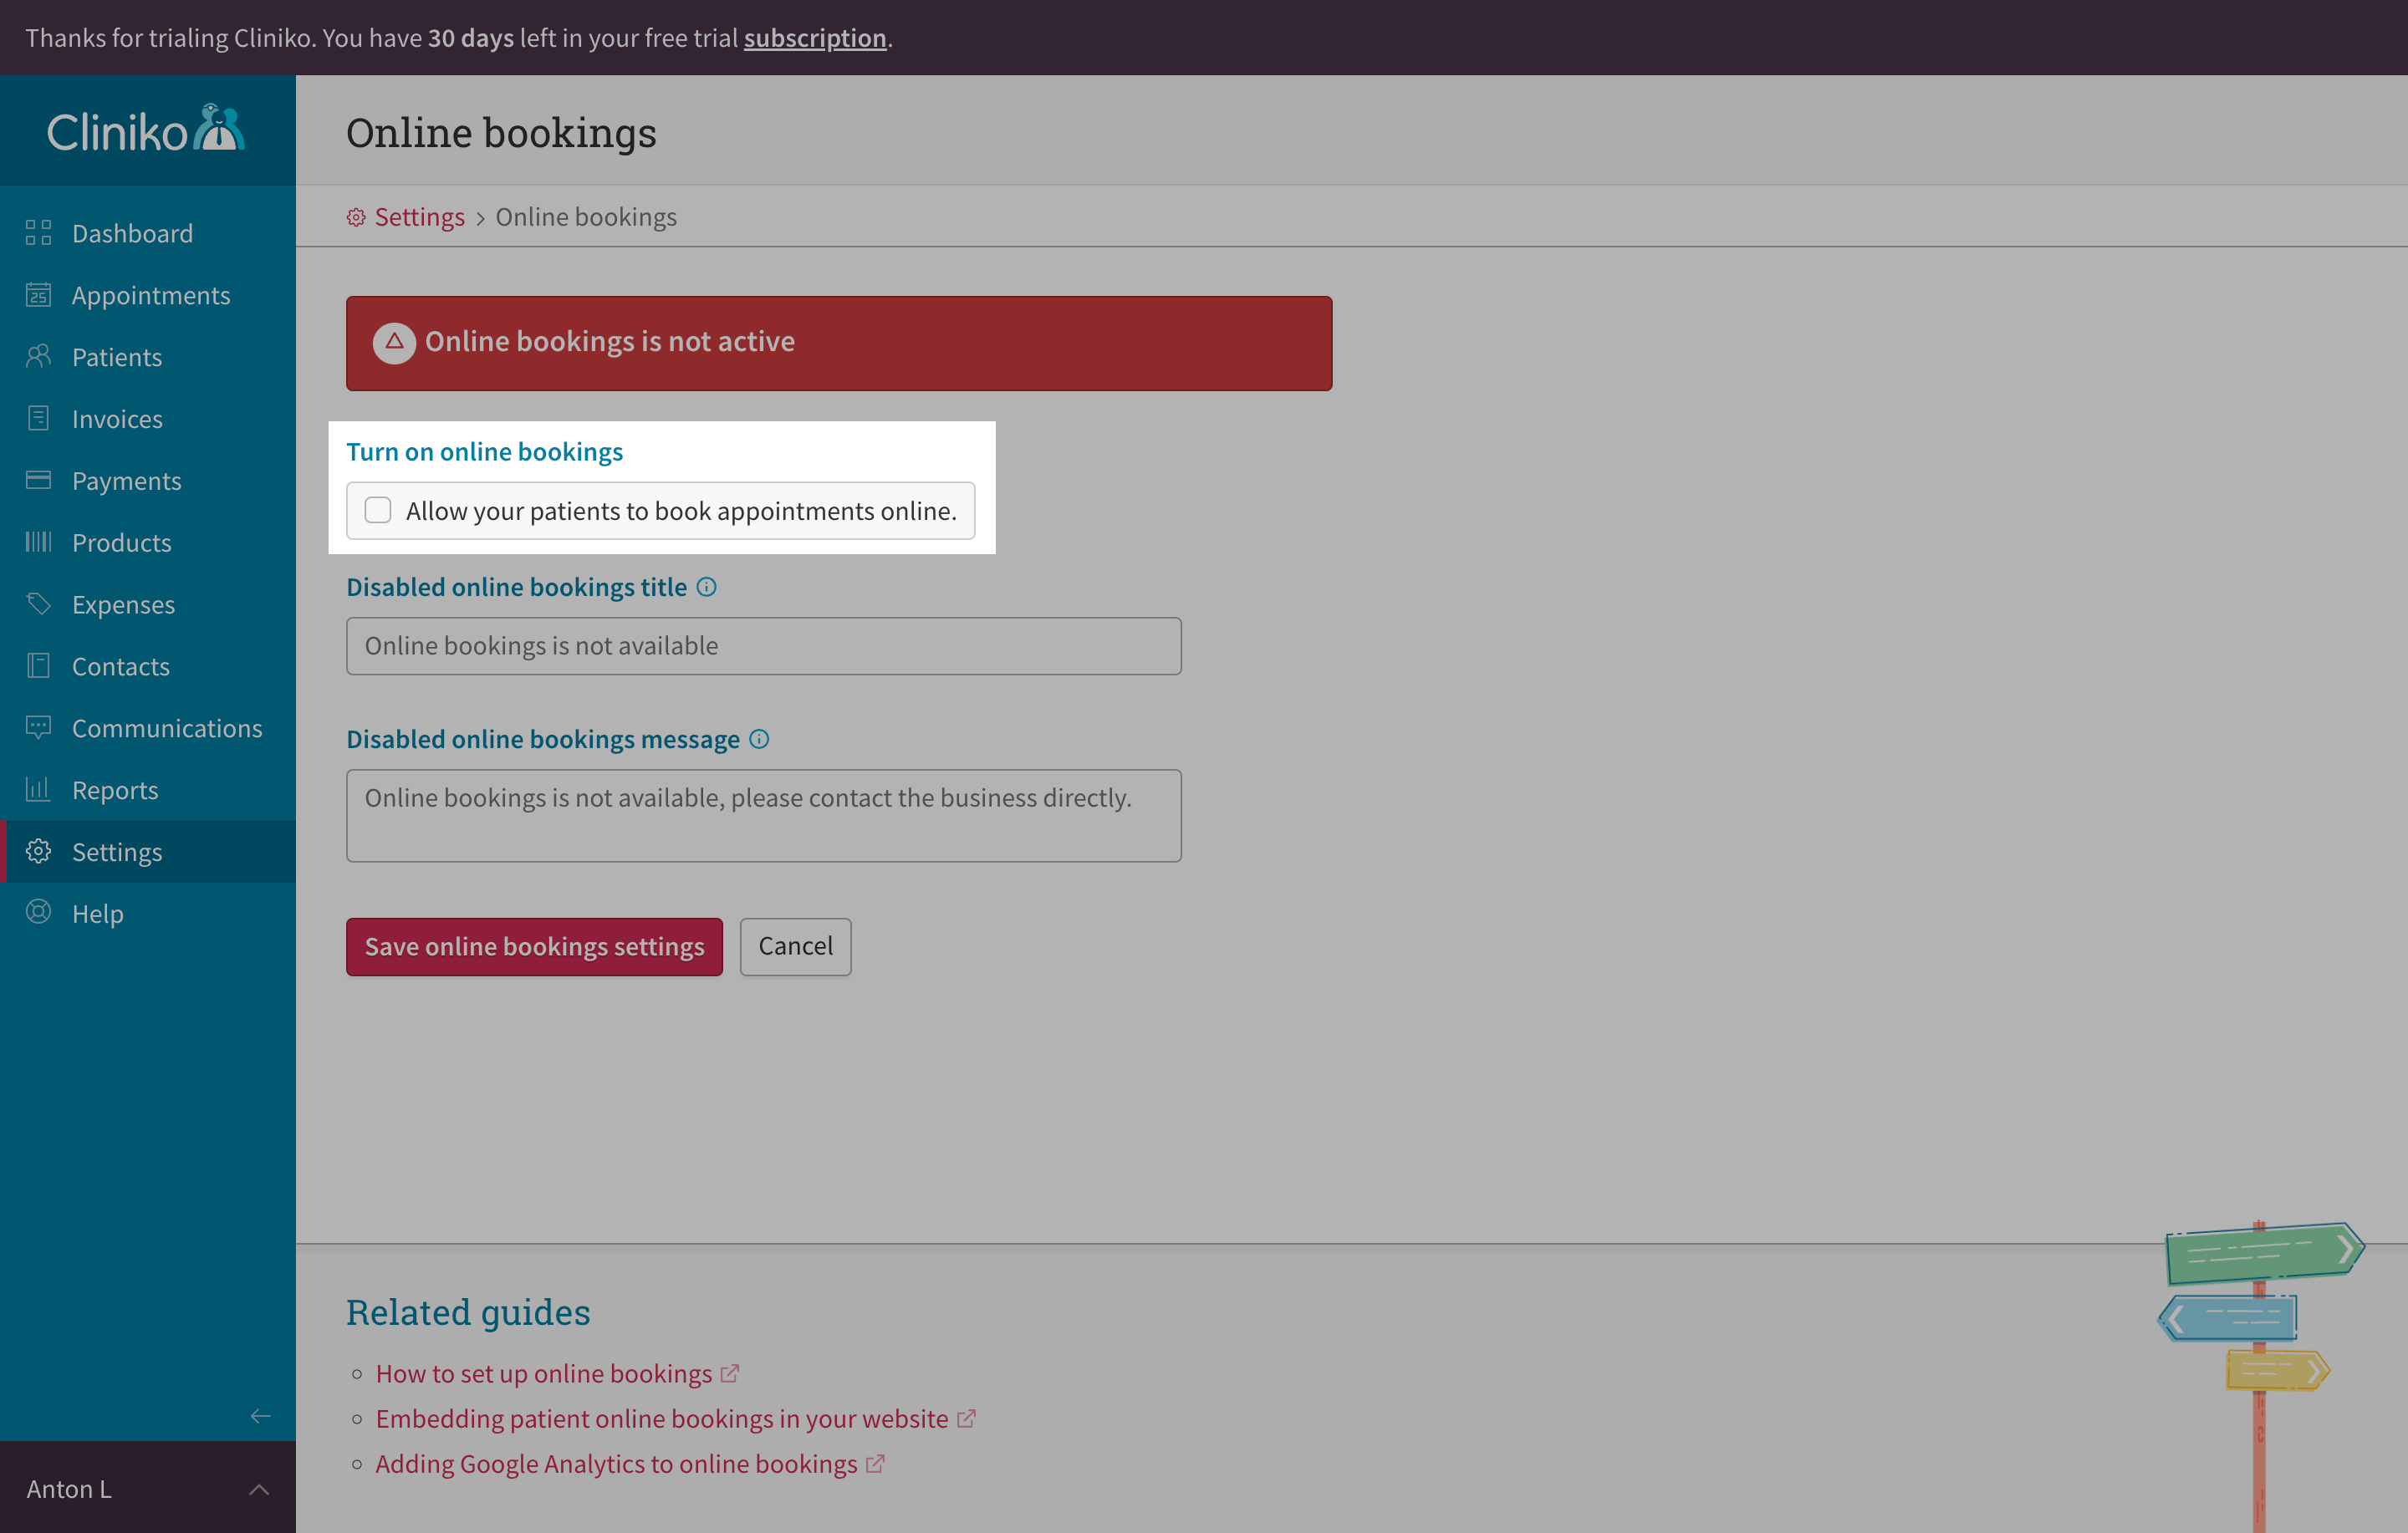
2. Check the "Allow your patients to book appointments online" checkbox if not already checked and click "Save online bookings settings"
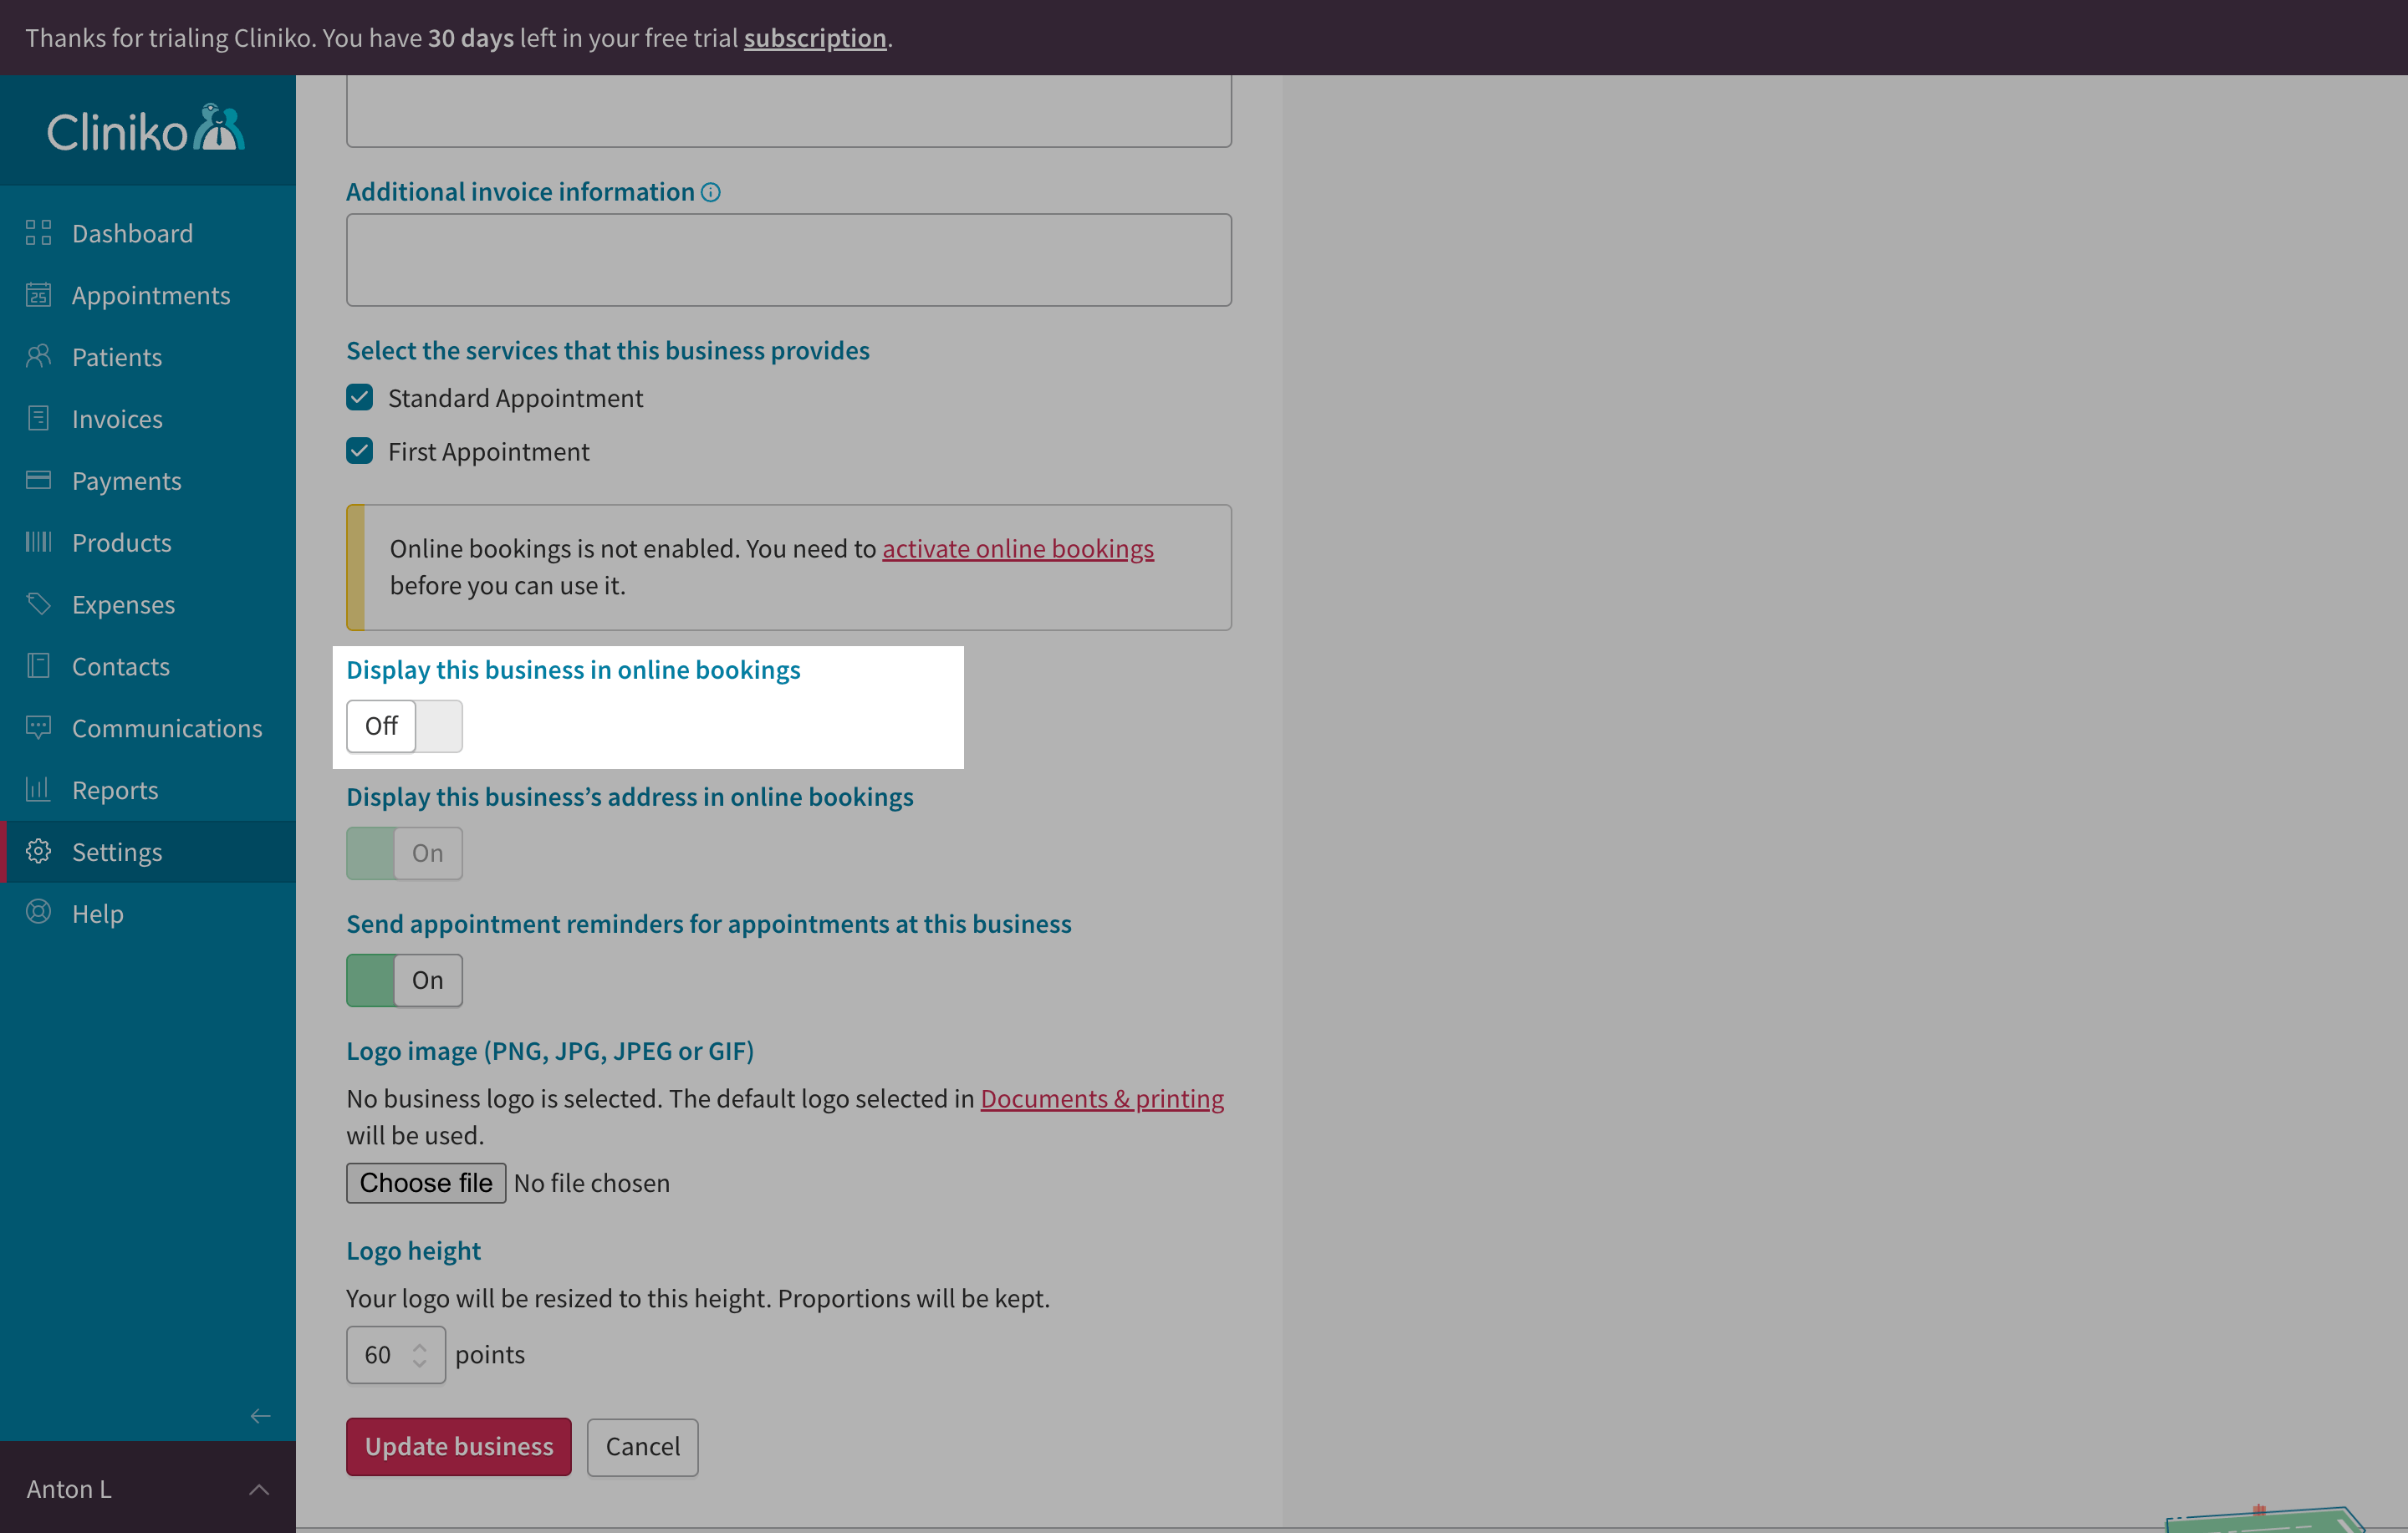
**Display Business for Bookings**
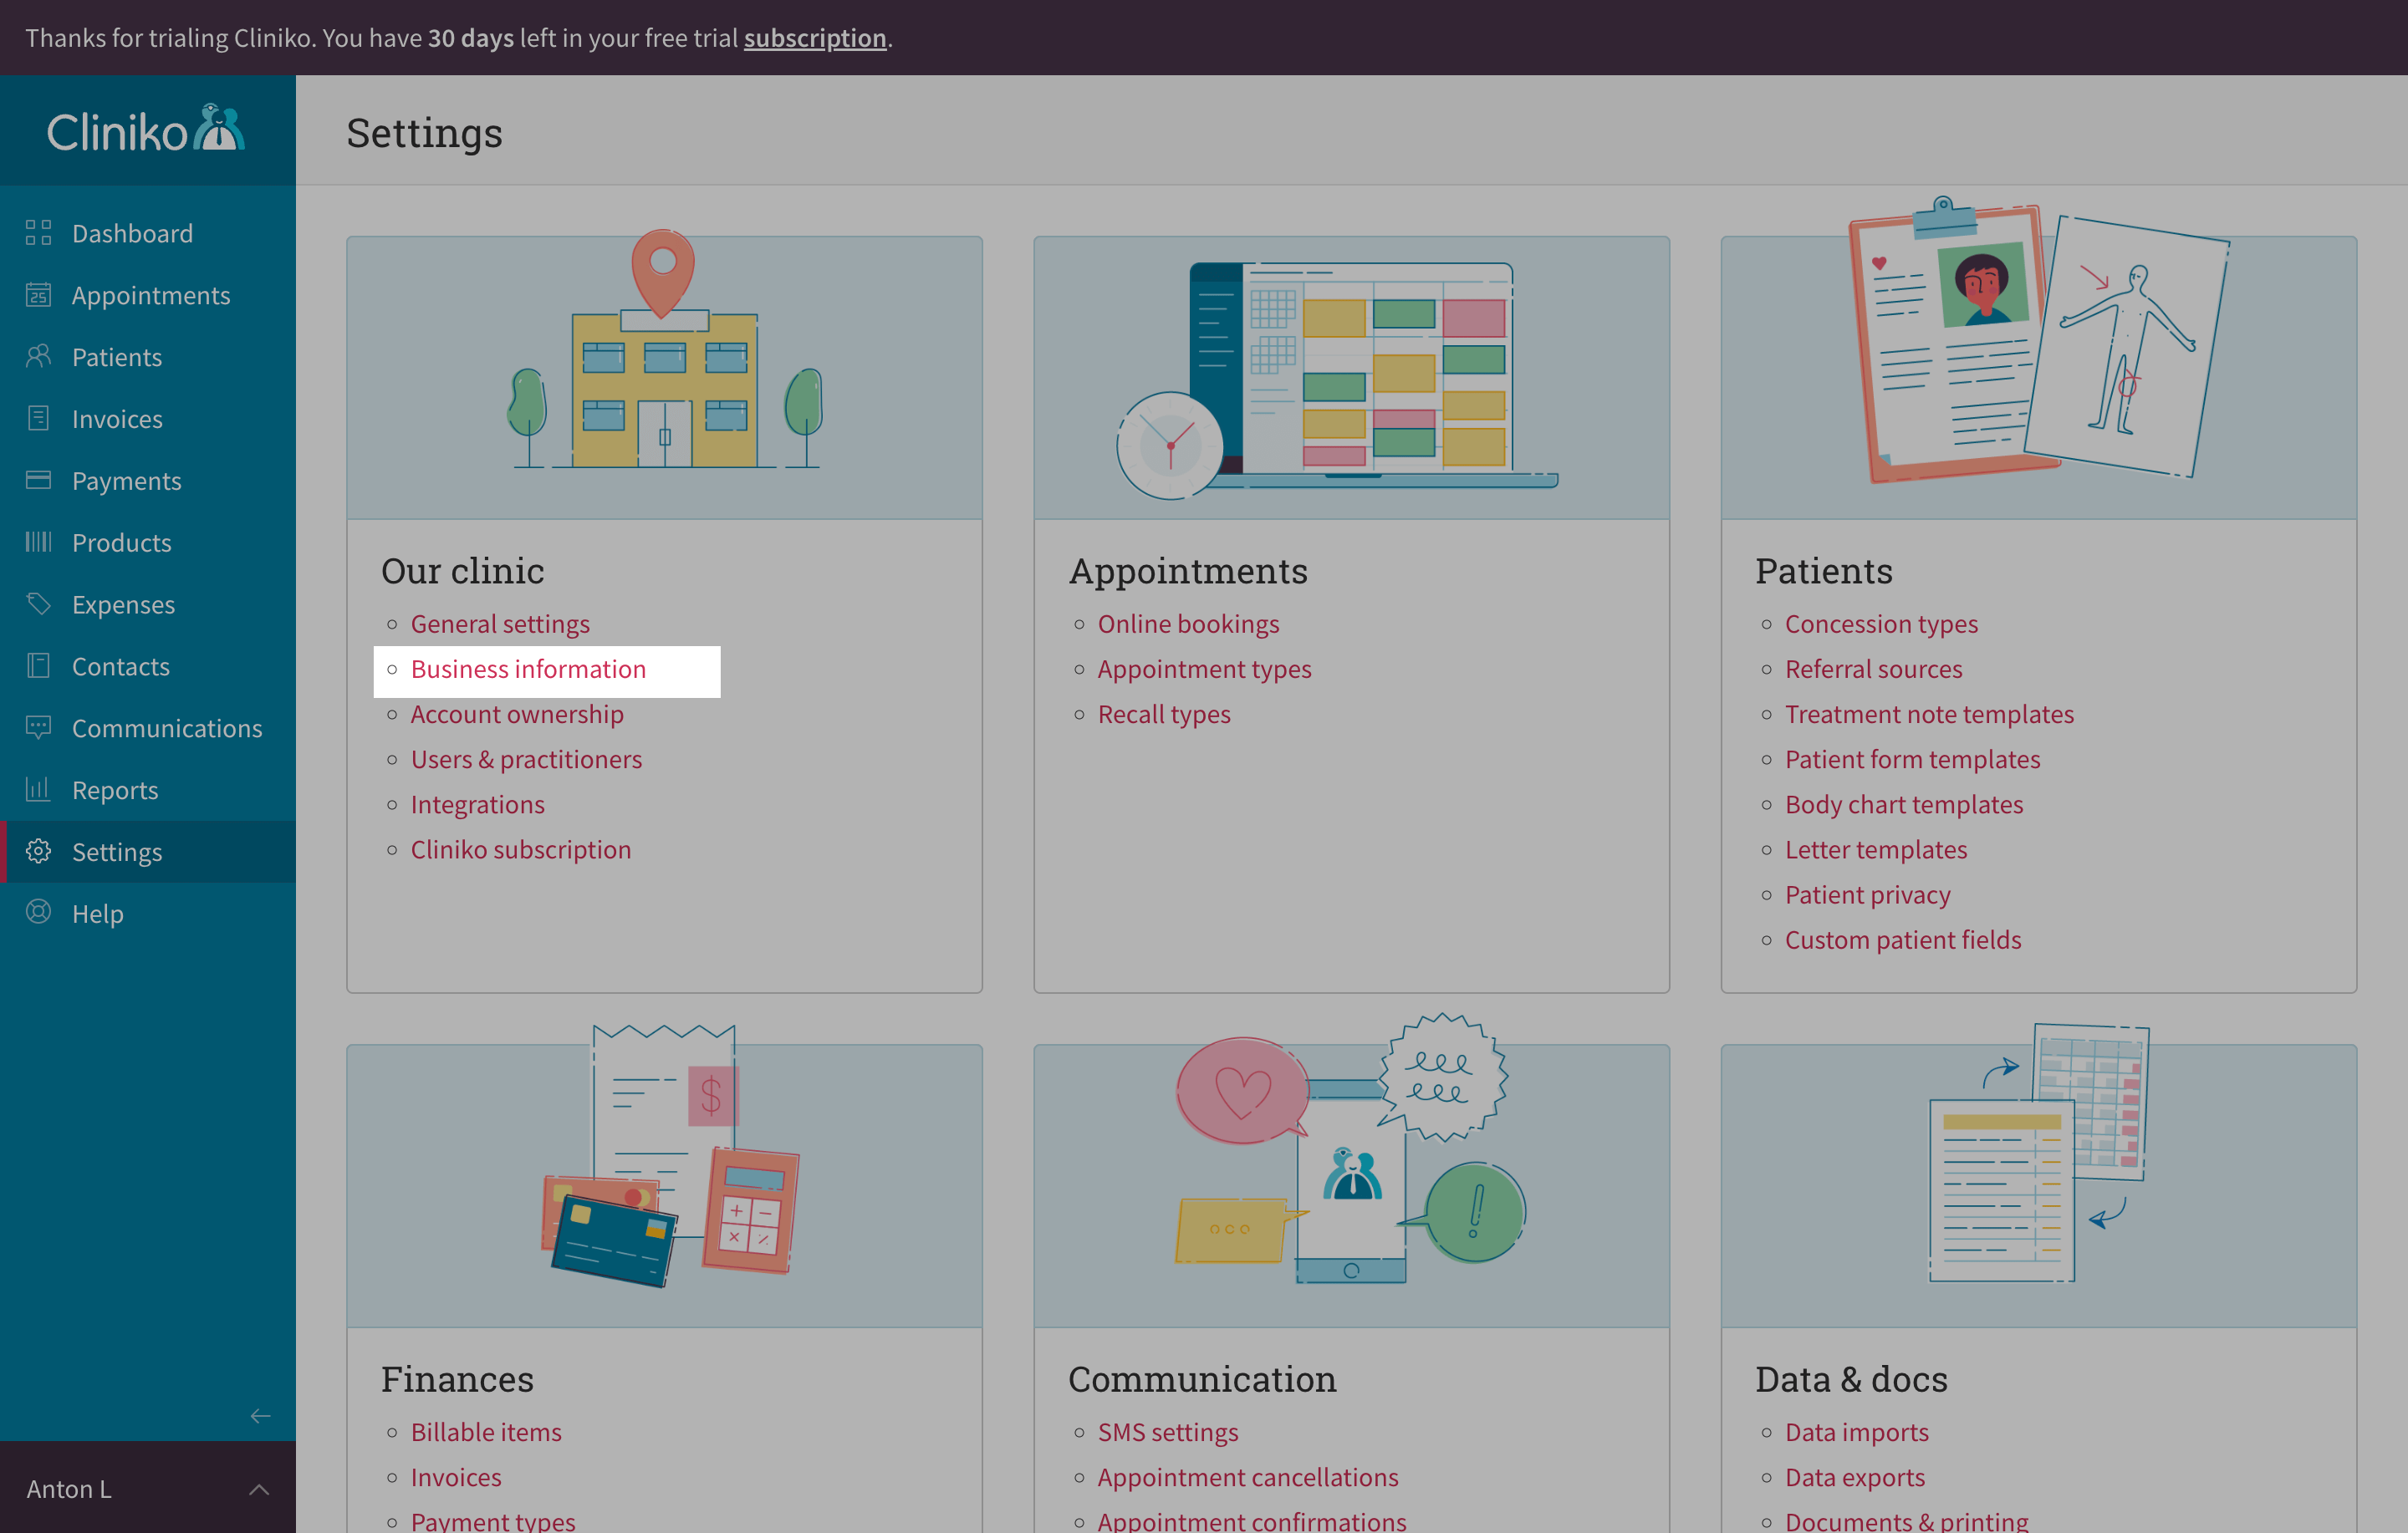
1. Go to "Business information" on the "Our clinic" setting card and edit your business information
2. On the "Edit business" page, scroll to the bottom, find the "Display this business in online bookings" toggle and set it to "On". Click "Update business"
You're now ready to test and launch your integration with Cliniko via Leyr. Check our [API specification](https://api.leyr.io/docs) for implementation details.
## Sitemap
See the full [sitemap](https://docs.leyr.io/sitemap.md) for all pages.