Book an Appointment
Book an Appointment
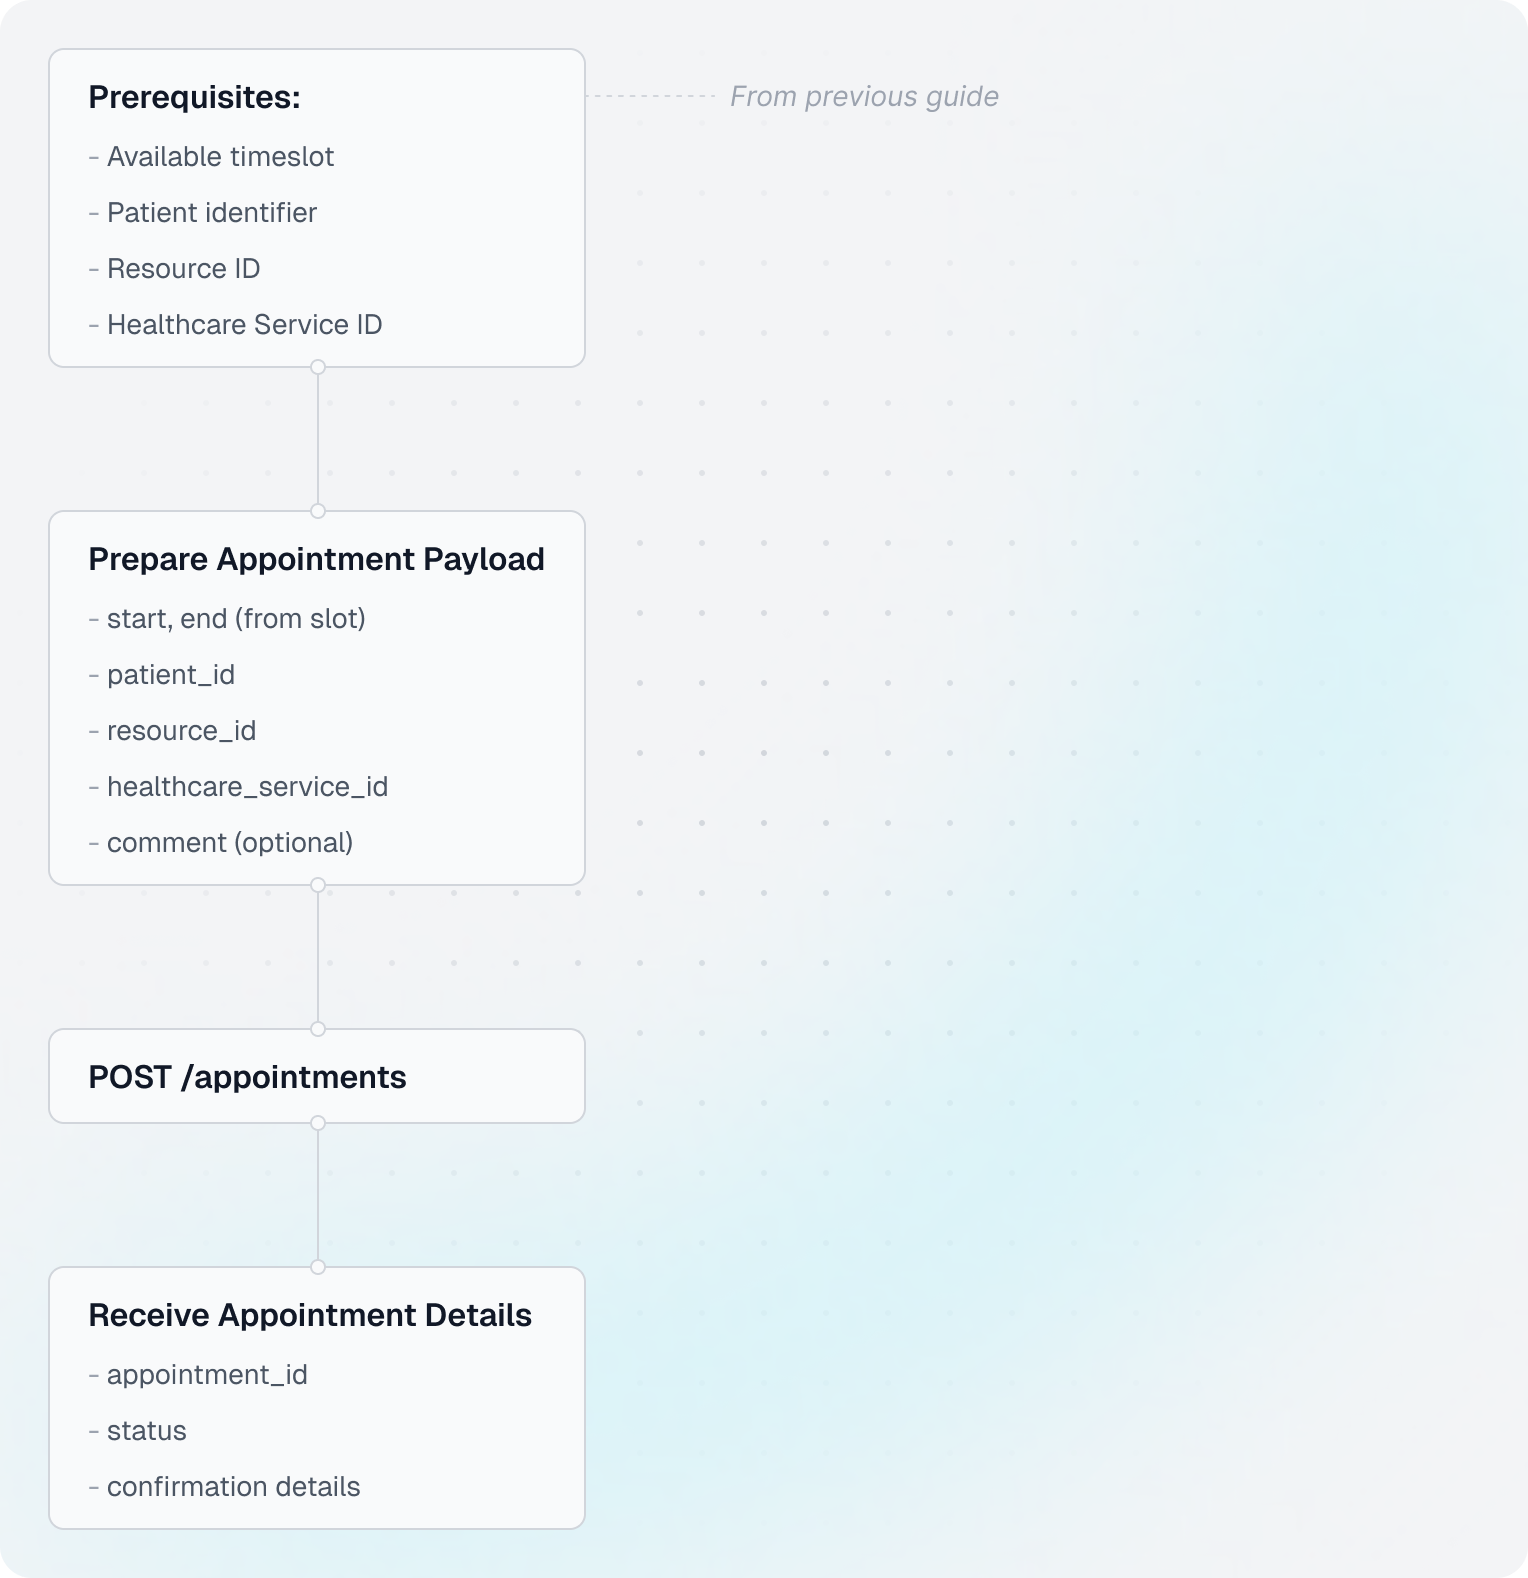
Learn how to create appointments for patients using available timeslots. This guide shows you how to book appointments once you've found available times.
care_unit_id and an available timeslot from Show Doctor's Availability, and a valid patient_id from Find or Get Patient or Create Patient. If the patient does not exist yet, create them first.Flow Overview
Understanding Appointments
- Appointment: A scheduled meeting between a patient and a healthcare resource
- Patient identifier (
patient_id): Can be internal EHR ID or a typed identifier likese_personal_number:*(see Patient ID guide) - Timeslot: Must be available before booking
Code Example
Shared setup
import requests
from datetime import datetime
from zoneinfo import ZoneInfo

CLIENT_ID = "your-client-id"
CLIENT_SECRET = "your-client-secret"
BASE_URL = "https://api.leyr.io/api"
EMR = "webdoc"

headers = {
    "x-leyr-client-id": CLIENT_ID,
    "x-leyr-client-secret": CLIENT_SECRET,
    "Content-Type": "application/json"
}

care_unit_id = "care-unit-123"
timeslot = {
    "start": "2024-03-25T14:00:00+01:00",
    "end": "2024-03-25T14:30:00+01:00",
    "resource_id": "doctor-789",
    "healthcare_service_id": "service-101"
}
patient_id = "se_personal_number:191212121212"
1. Prepare the appointment payload
appointment_data = {
    "start": timeslot["start"],
    "end": timeslot["end"],
    "patient_id": patient_id,
    "resource_id": timeslot["resource_id"],
    "healthcare_service_id": timeslot["healthcare_service_id"],
    "comment": "First consultation"
}
2. Create the appointment
response = requests.post(
    f"{BASE_URL}/emrs/{EMR}/care-units/{care_unit_id}/appointments",
    headers=headers,
    json=appointment_data
)

appointments = response.json()
appointment = appointments[0]
3. Read key values from the response
print("✓ Appointment booked successfully!")
print(f"  Appointment ID: {appointment['id']}")
print(f"  Status: {appointment['status']}")
print(f"  Care Unit ID: {appointment['care_unit_id']}")

start_time = datetime.fromisoformat(appointment["start"])
print(f"  Time (Europe/Stockholm): {start_time.astimezone(ZoneInfo('Europe/Stockholm')).strftime('%Y-%m-%d %H:%M')}")
Key Insights
Appointment Status
Appointments can have different statuses:
booked- Successfully scheduled (most common)awaiting_confirmation- Requires additional confirmation (some EHRs)completed- Appointment has occurredcancelled- Appointment was cancelled
If you receive awaiting_confirmation, you may need to provide additional confirmation data. See the Appointment Confirmation guide for details.
Using patient_id formats
patient_id can be provided in multiple formats:
patient_id = "abc_12345"
patient_id = "emr_id:abc_12345"
patient_id = "se_personal_number:191212121212"
For more details on patient ID formats, see the Patient ID Guide.
Next Steps
Learn how to manage appointments:
- Update Appointments - Reschedule or modify appointments
- Cancel Appointments - Cancel booked appointments
- Write Medical Note - Document the consultation
API Reference
For detailed API documentation, see:
Show Doctor's Availability
Learn how to discover available timeslots for booking appointments. This guide walks through the complete flow from finding care units to checking doctor availability.
Write a Medical Note
Learn how to create medical notes for patient records. Medical notes are clinical documentation written by healthcare providers during or after consultations.